The first rule of 3D printing is #
- You do not talk about 3D printing.
The second rule of 3D printing is
- You do NOT talk about 3D printing.
(As with Fight Club, I think those rules only exist to emphasize how much you are expected to break them. Just try getting any 3d-printing enthusiast to shut up about it for more than the time it takes to level a bed).
The third rule of 3D printing is
- Your first non-benchy print must be a mod / part for your printer.
And this one, I fully believe in.
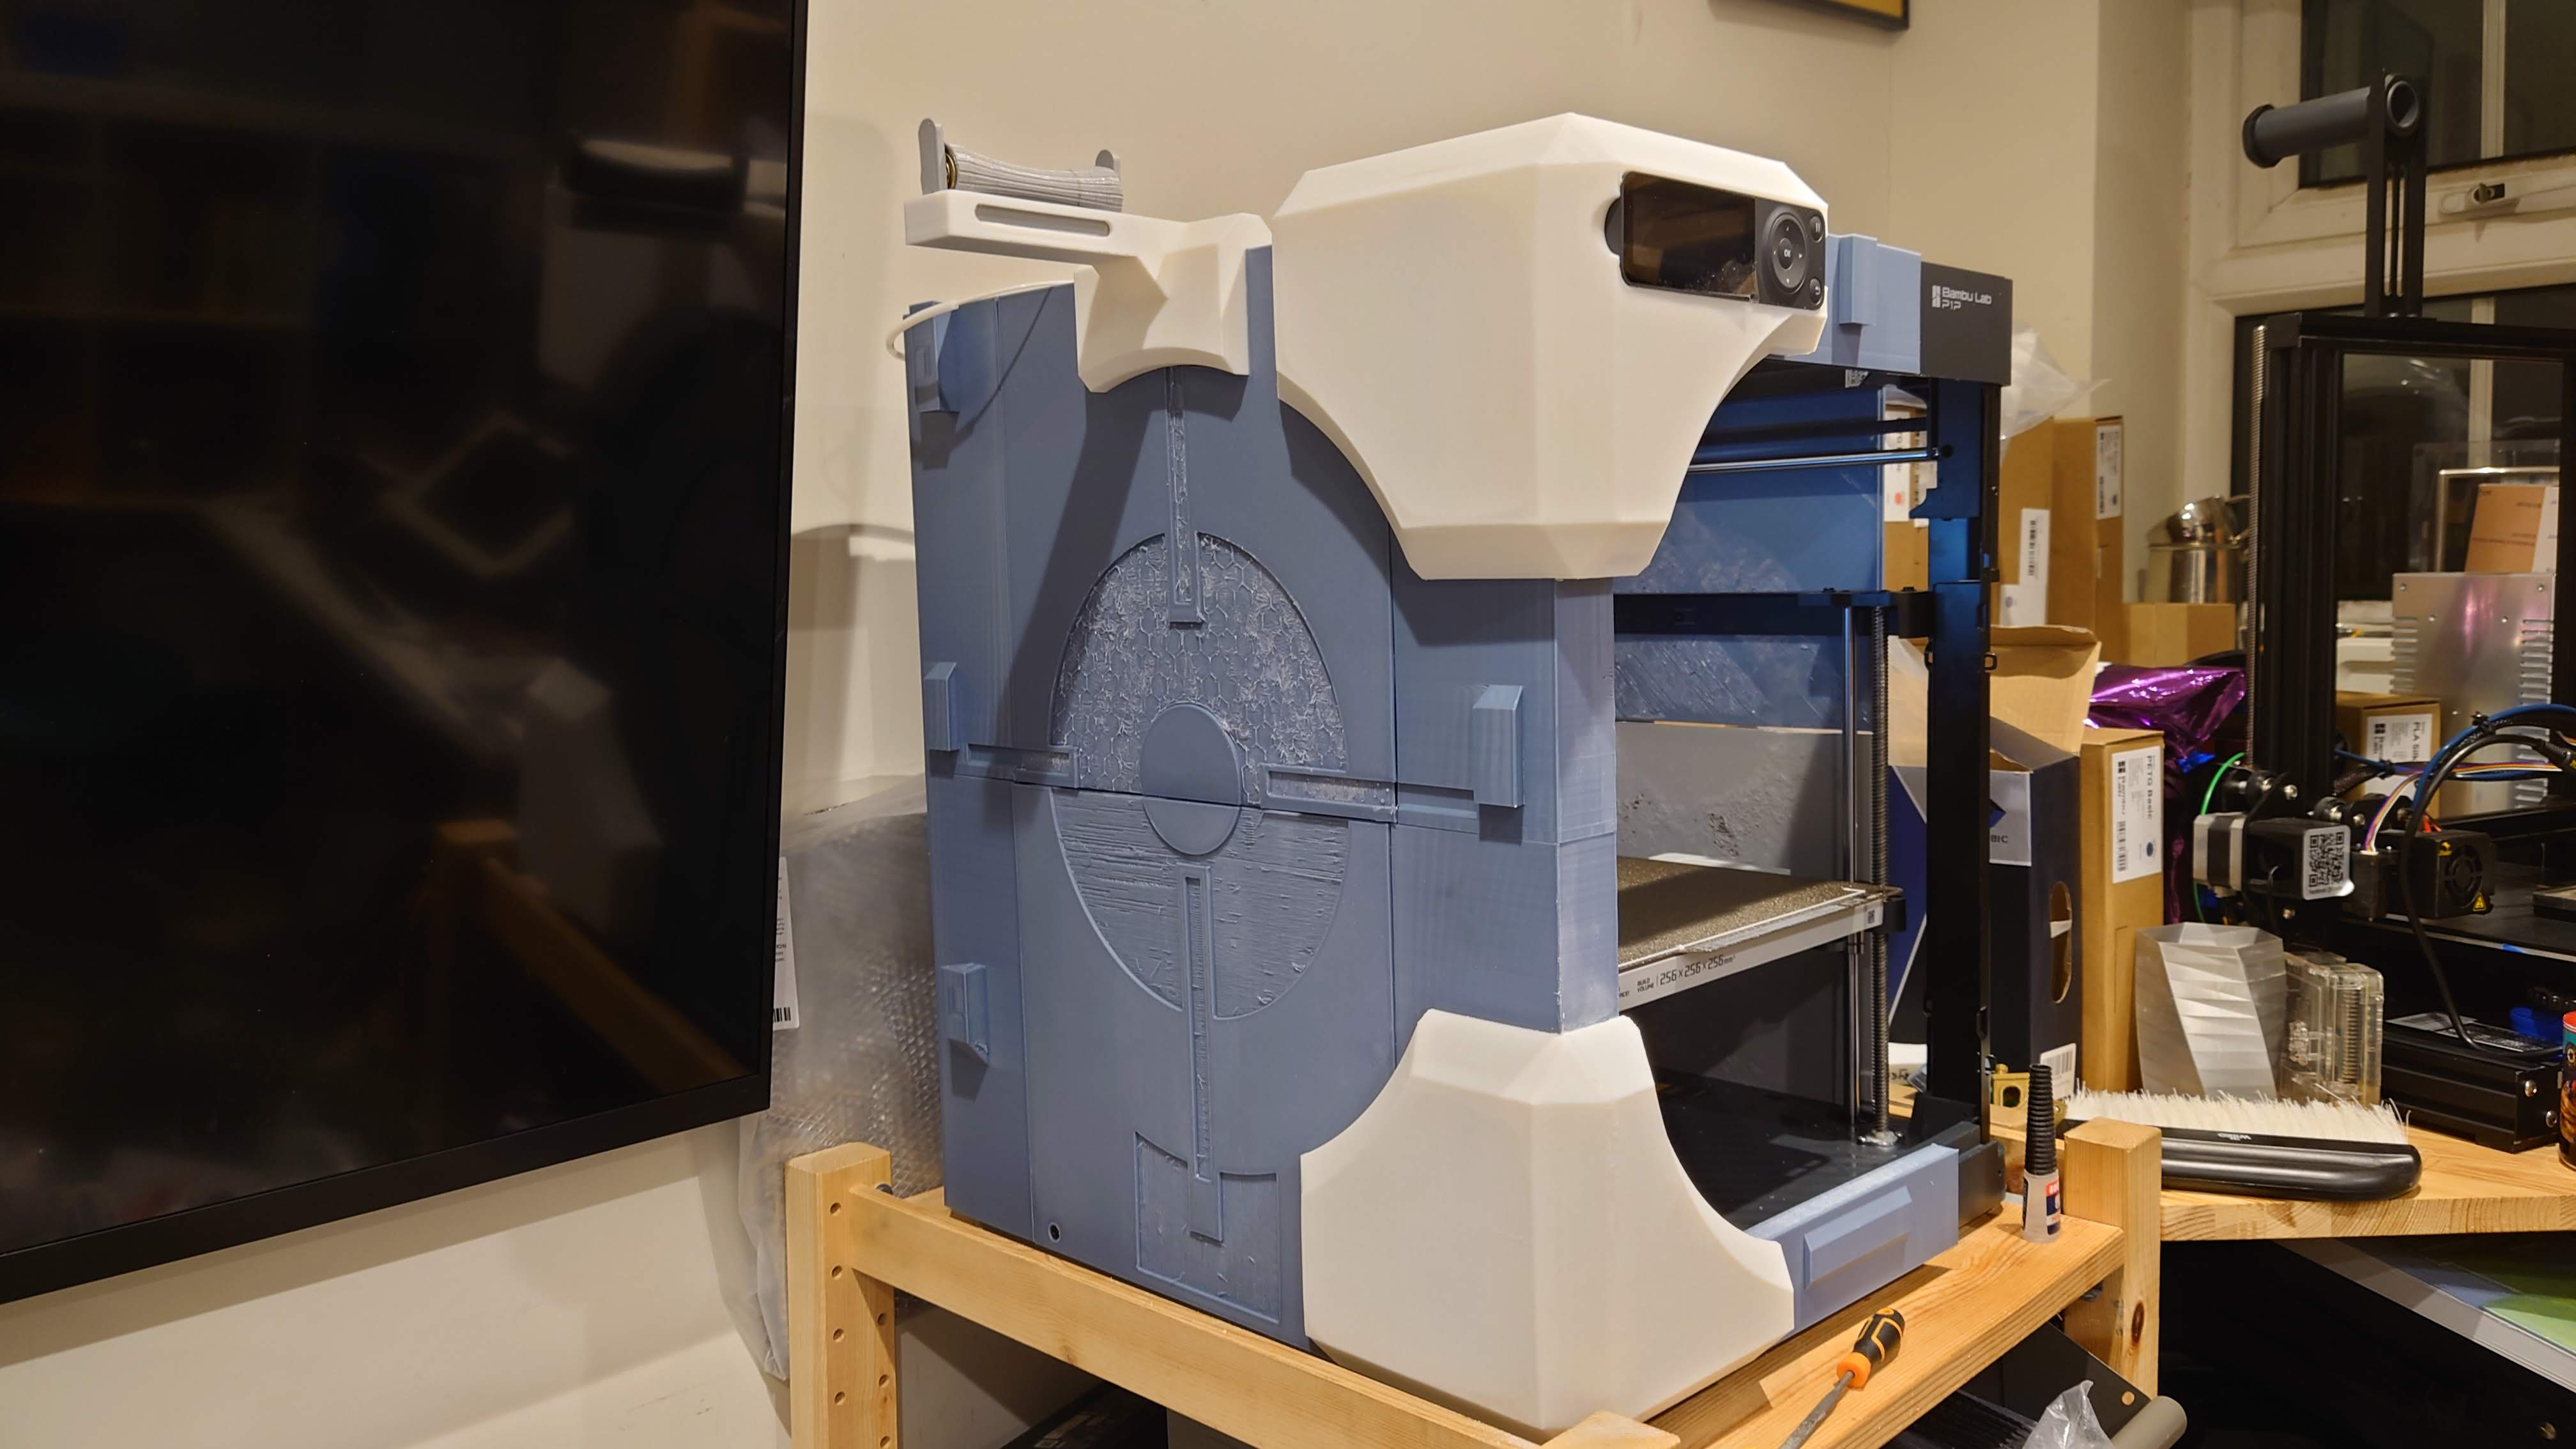
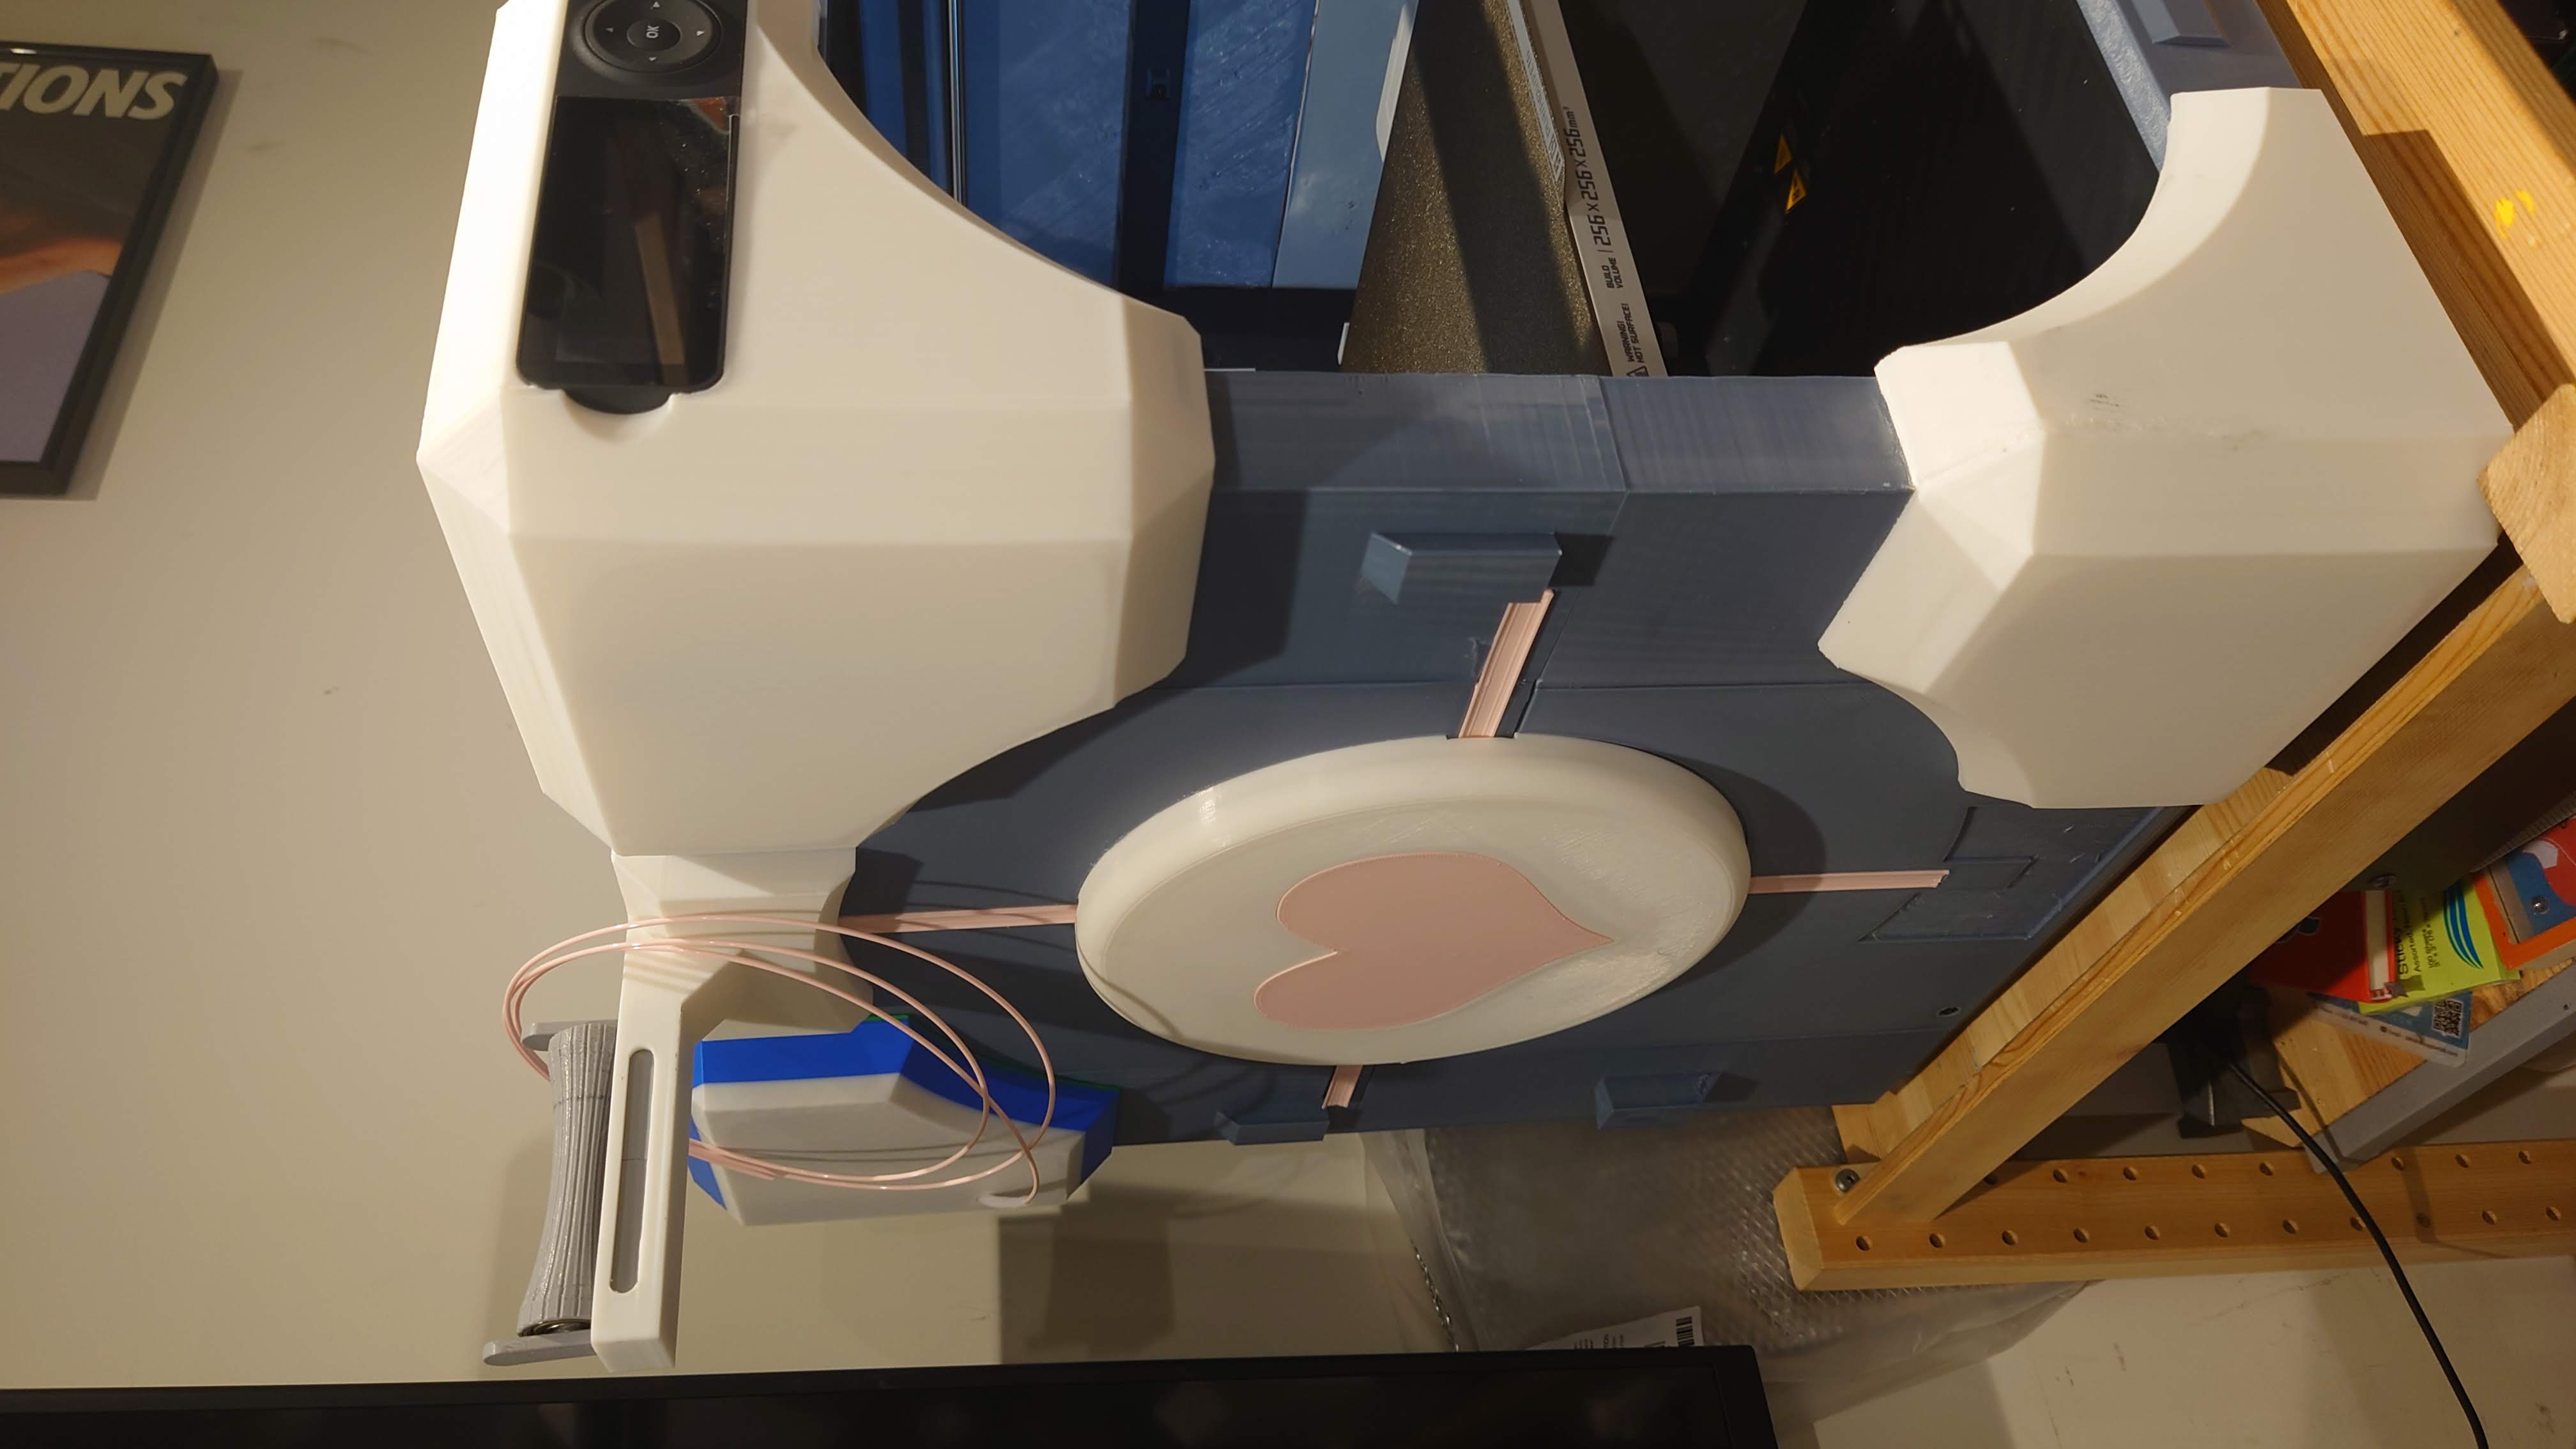
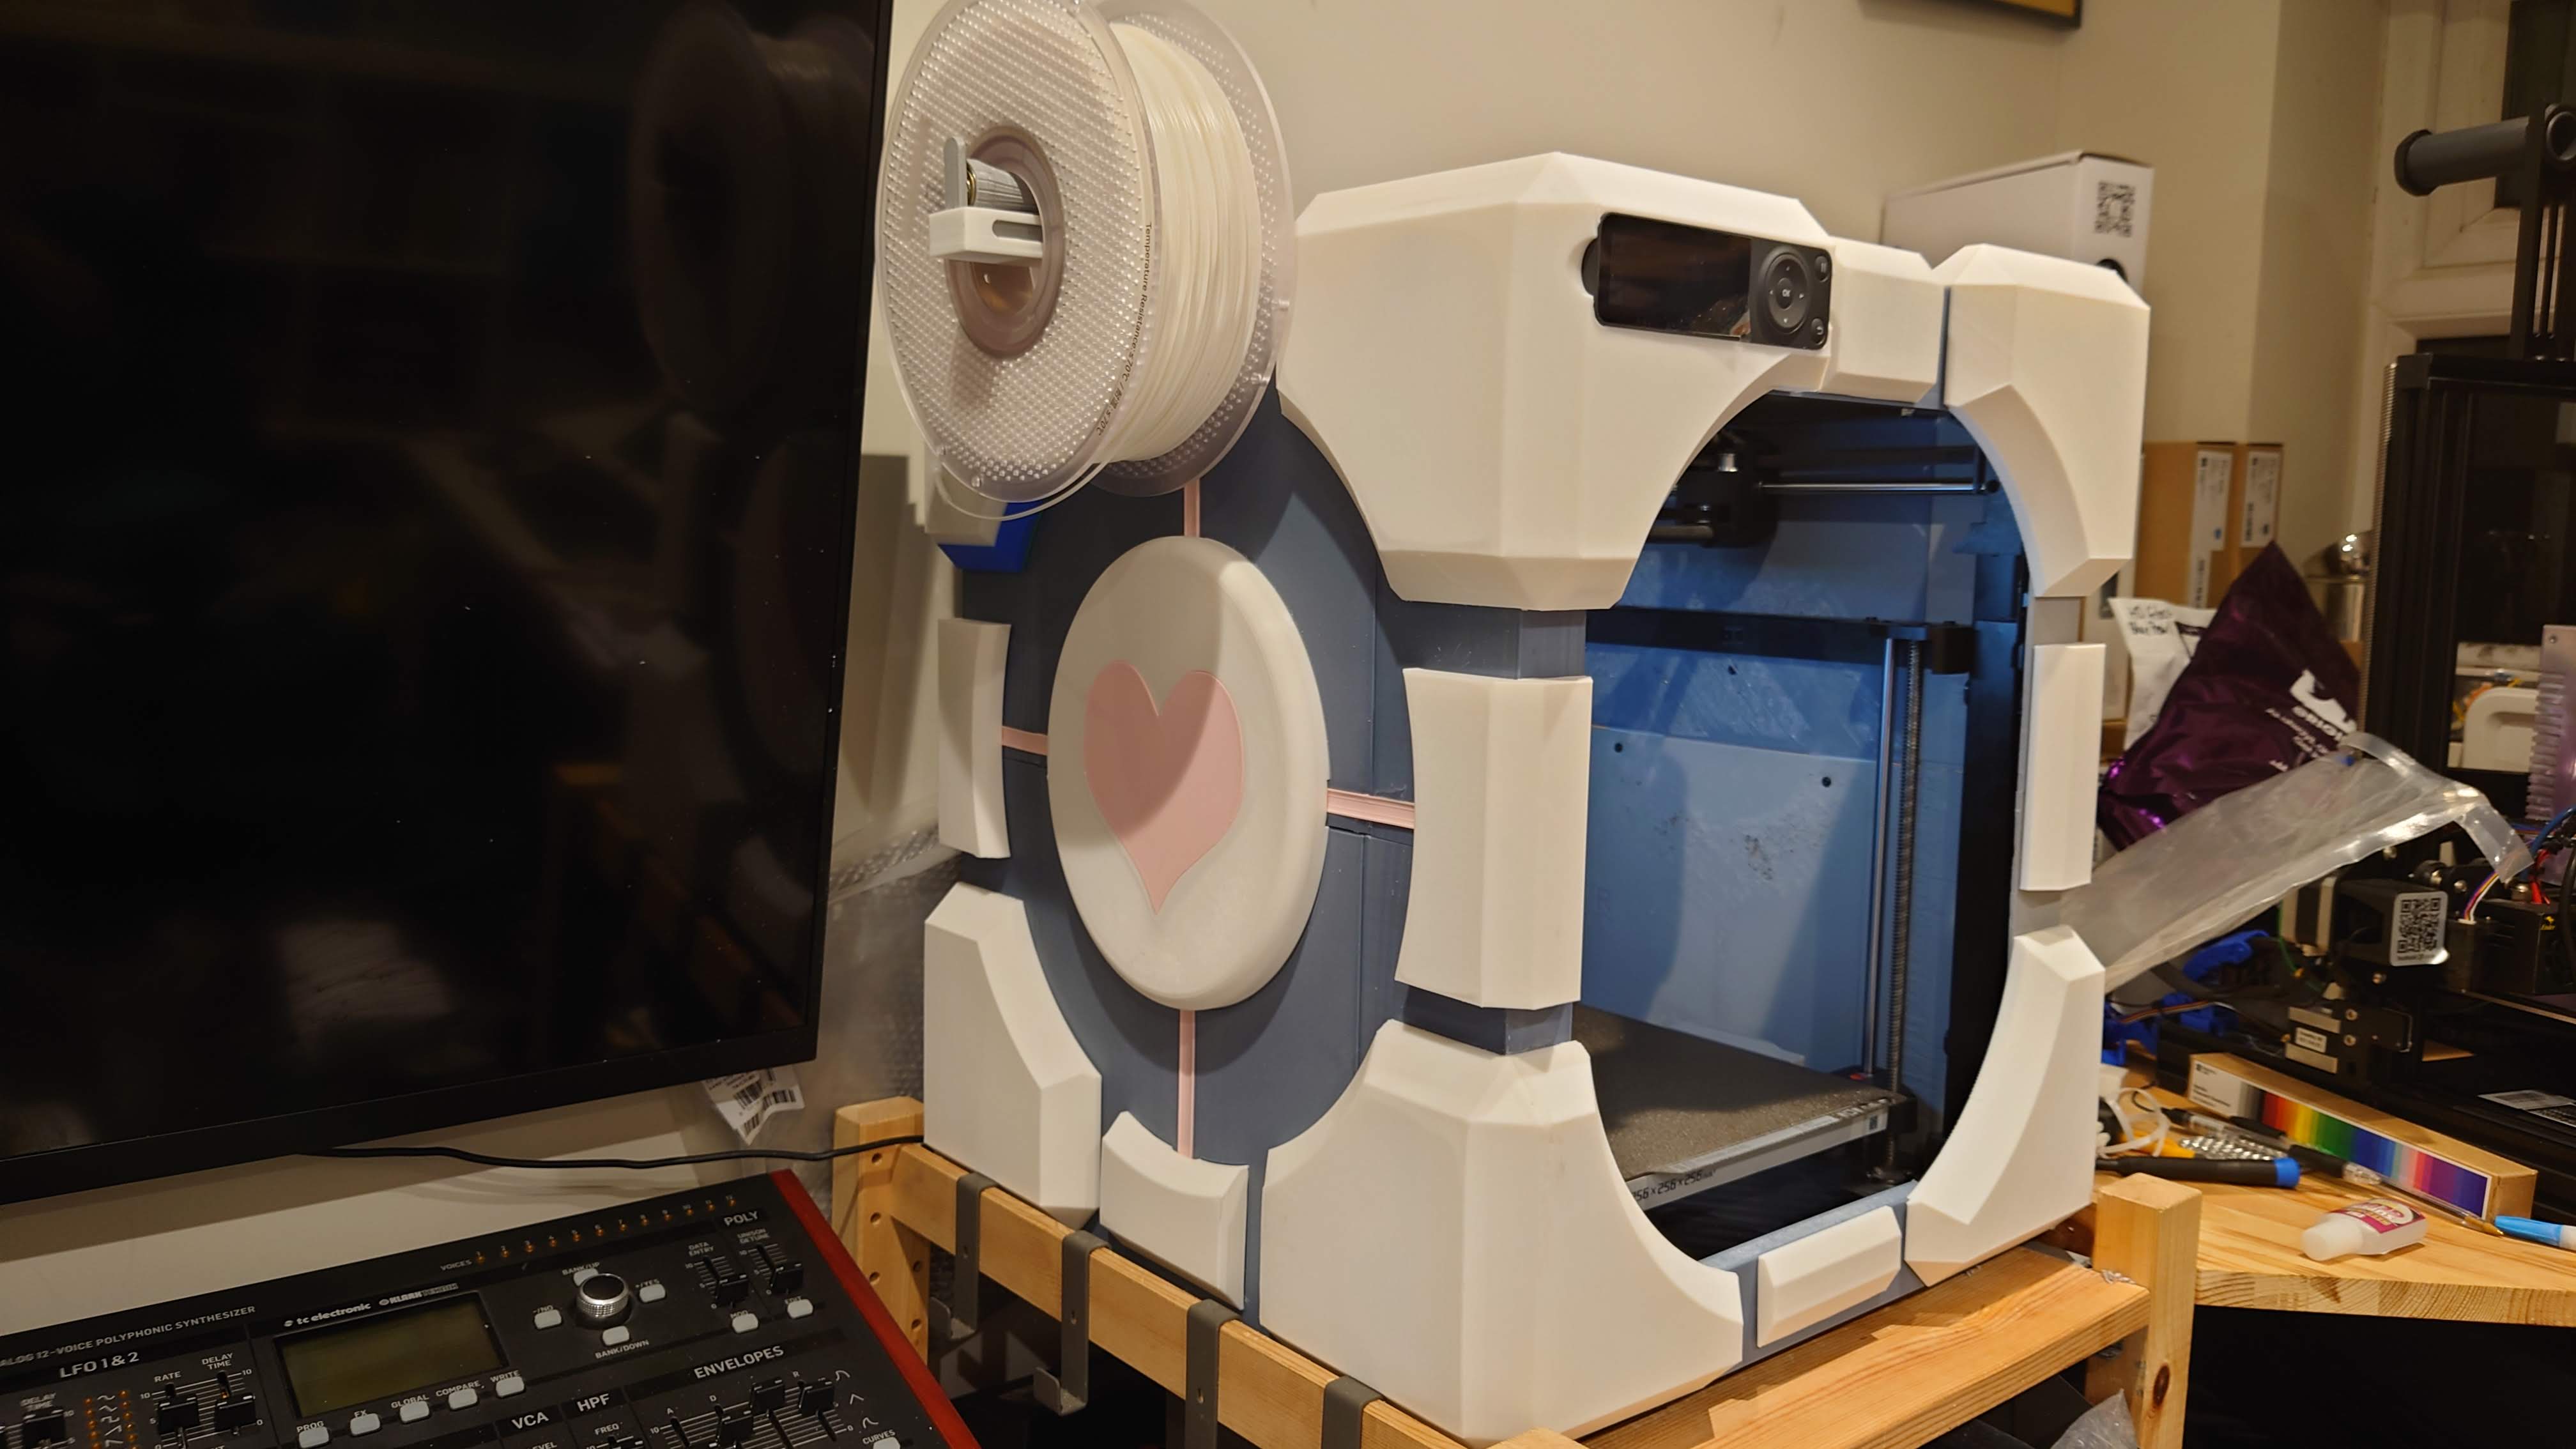
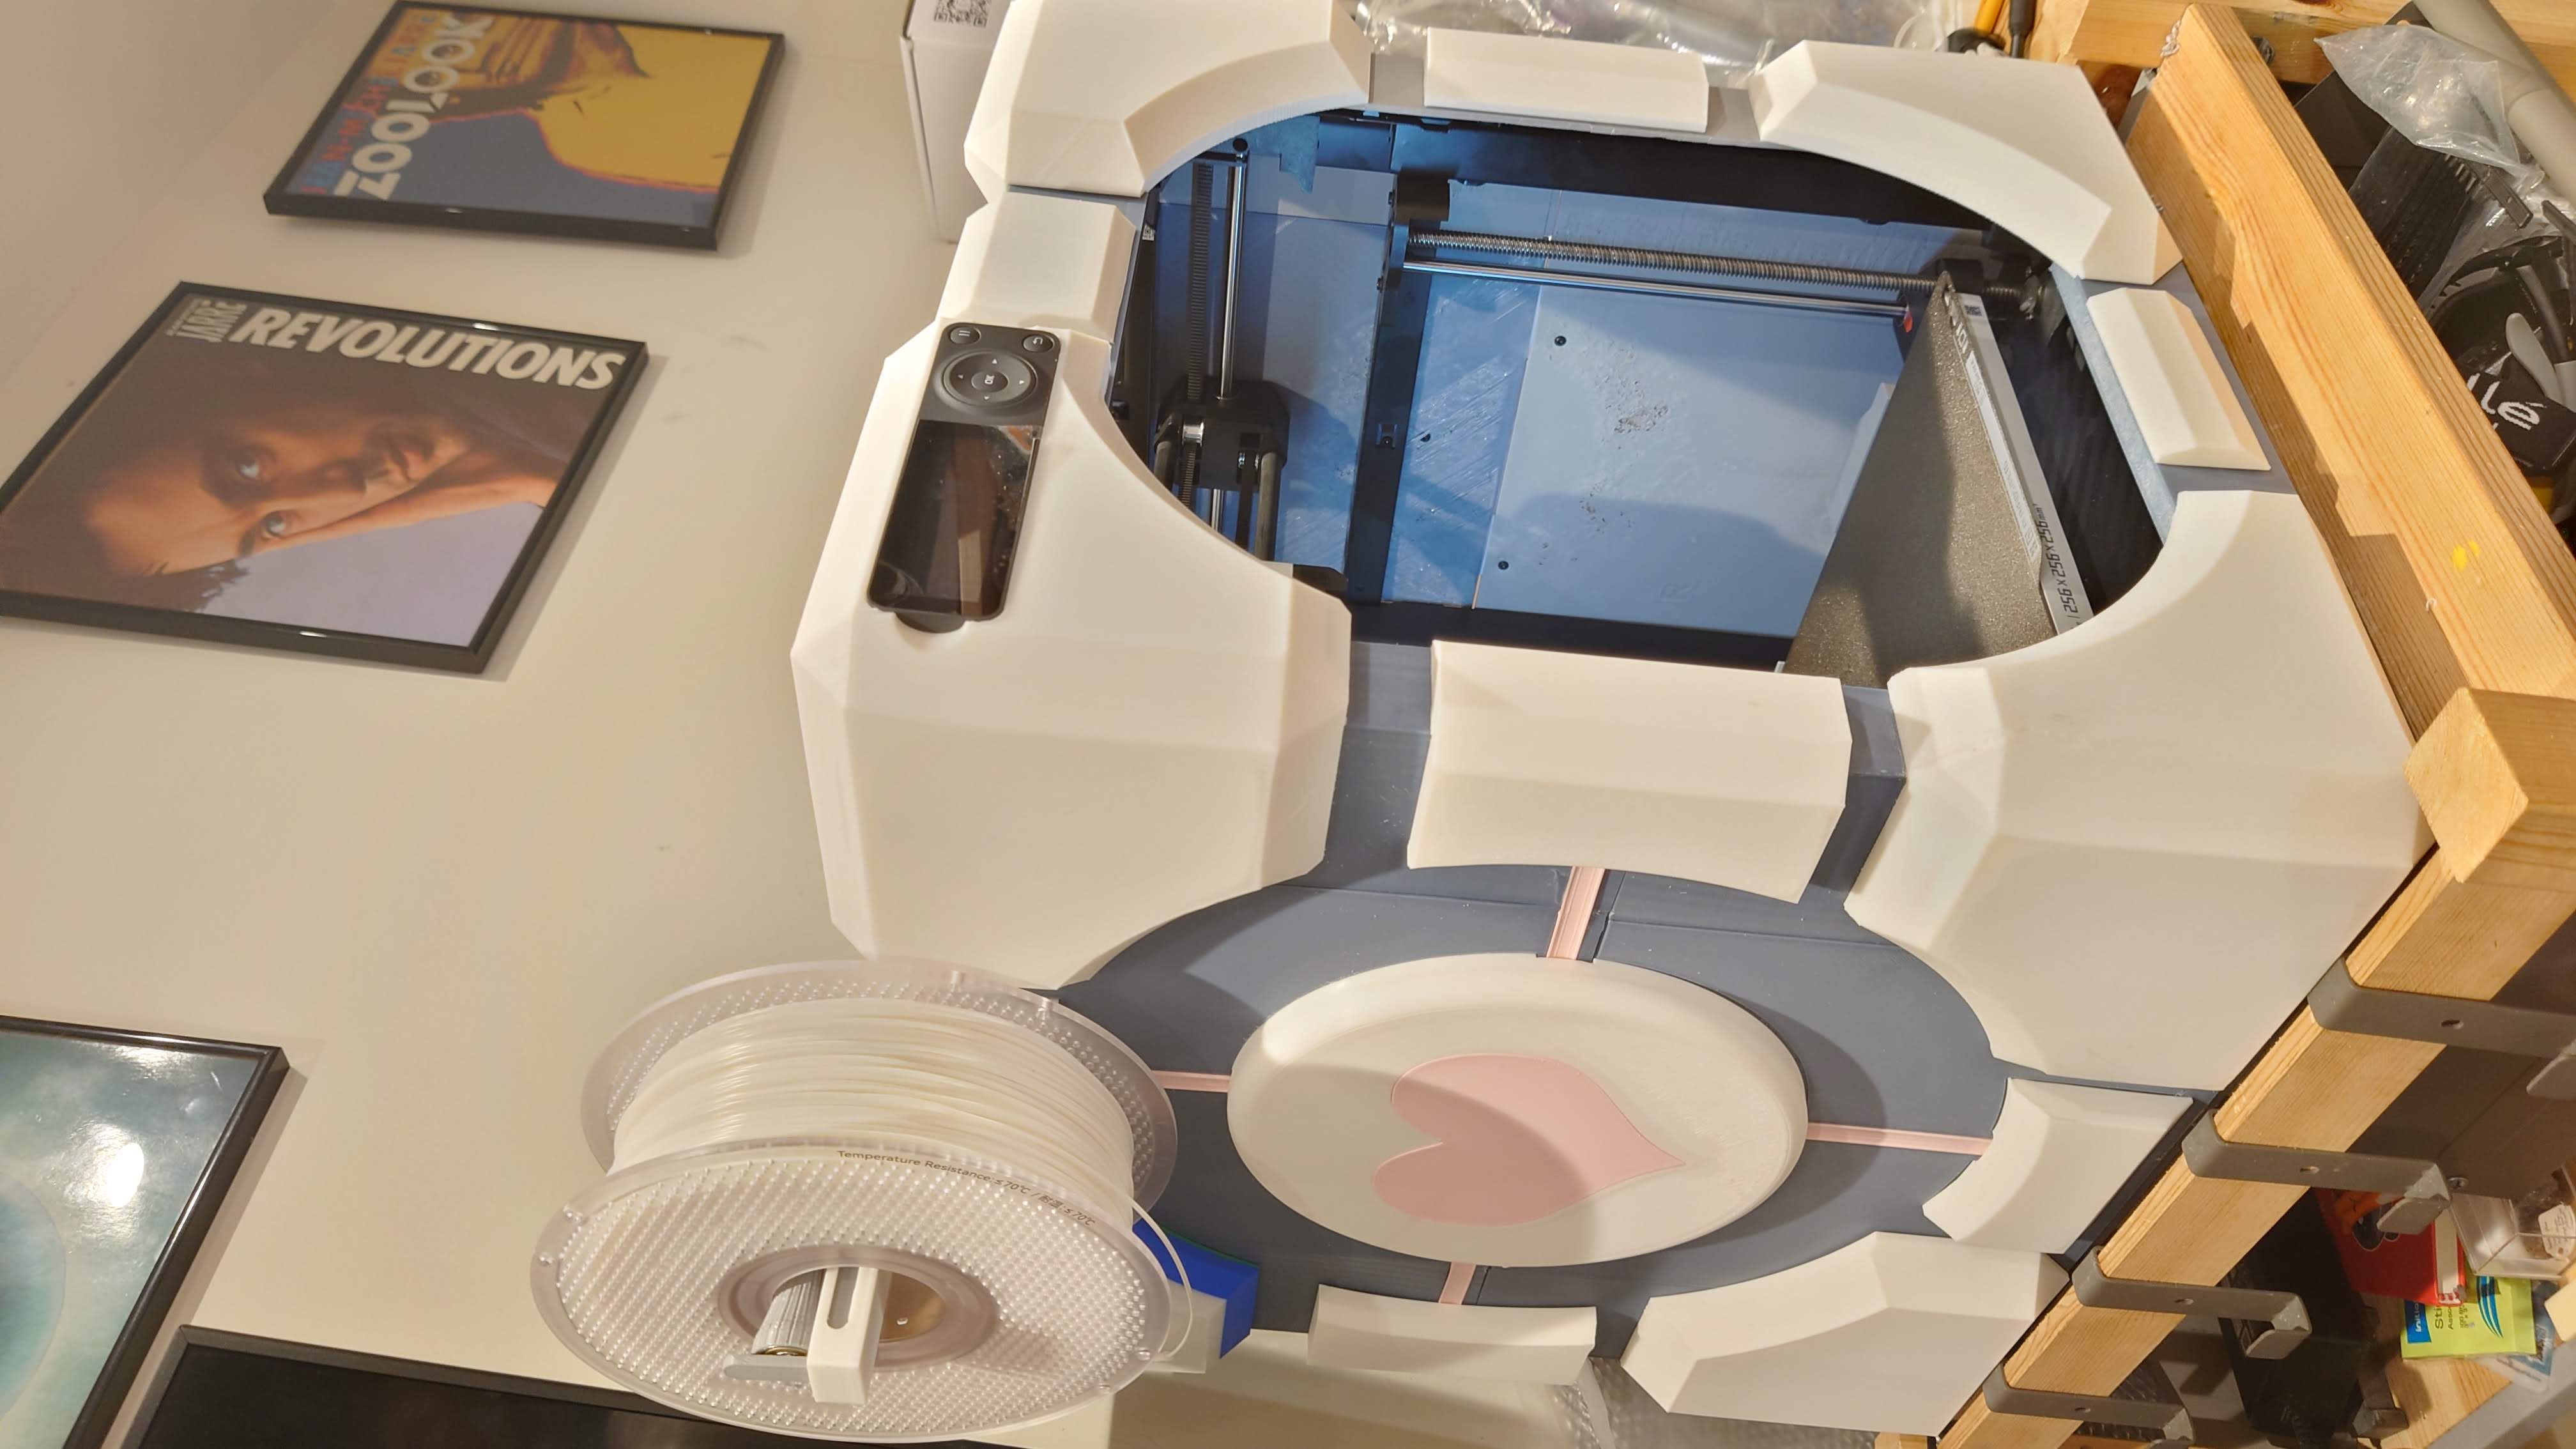
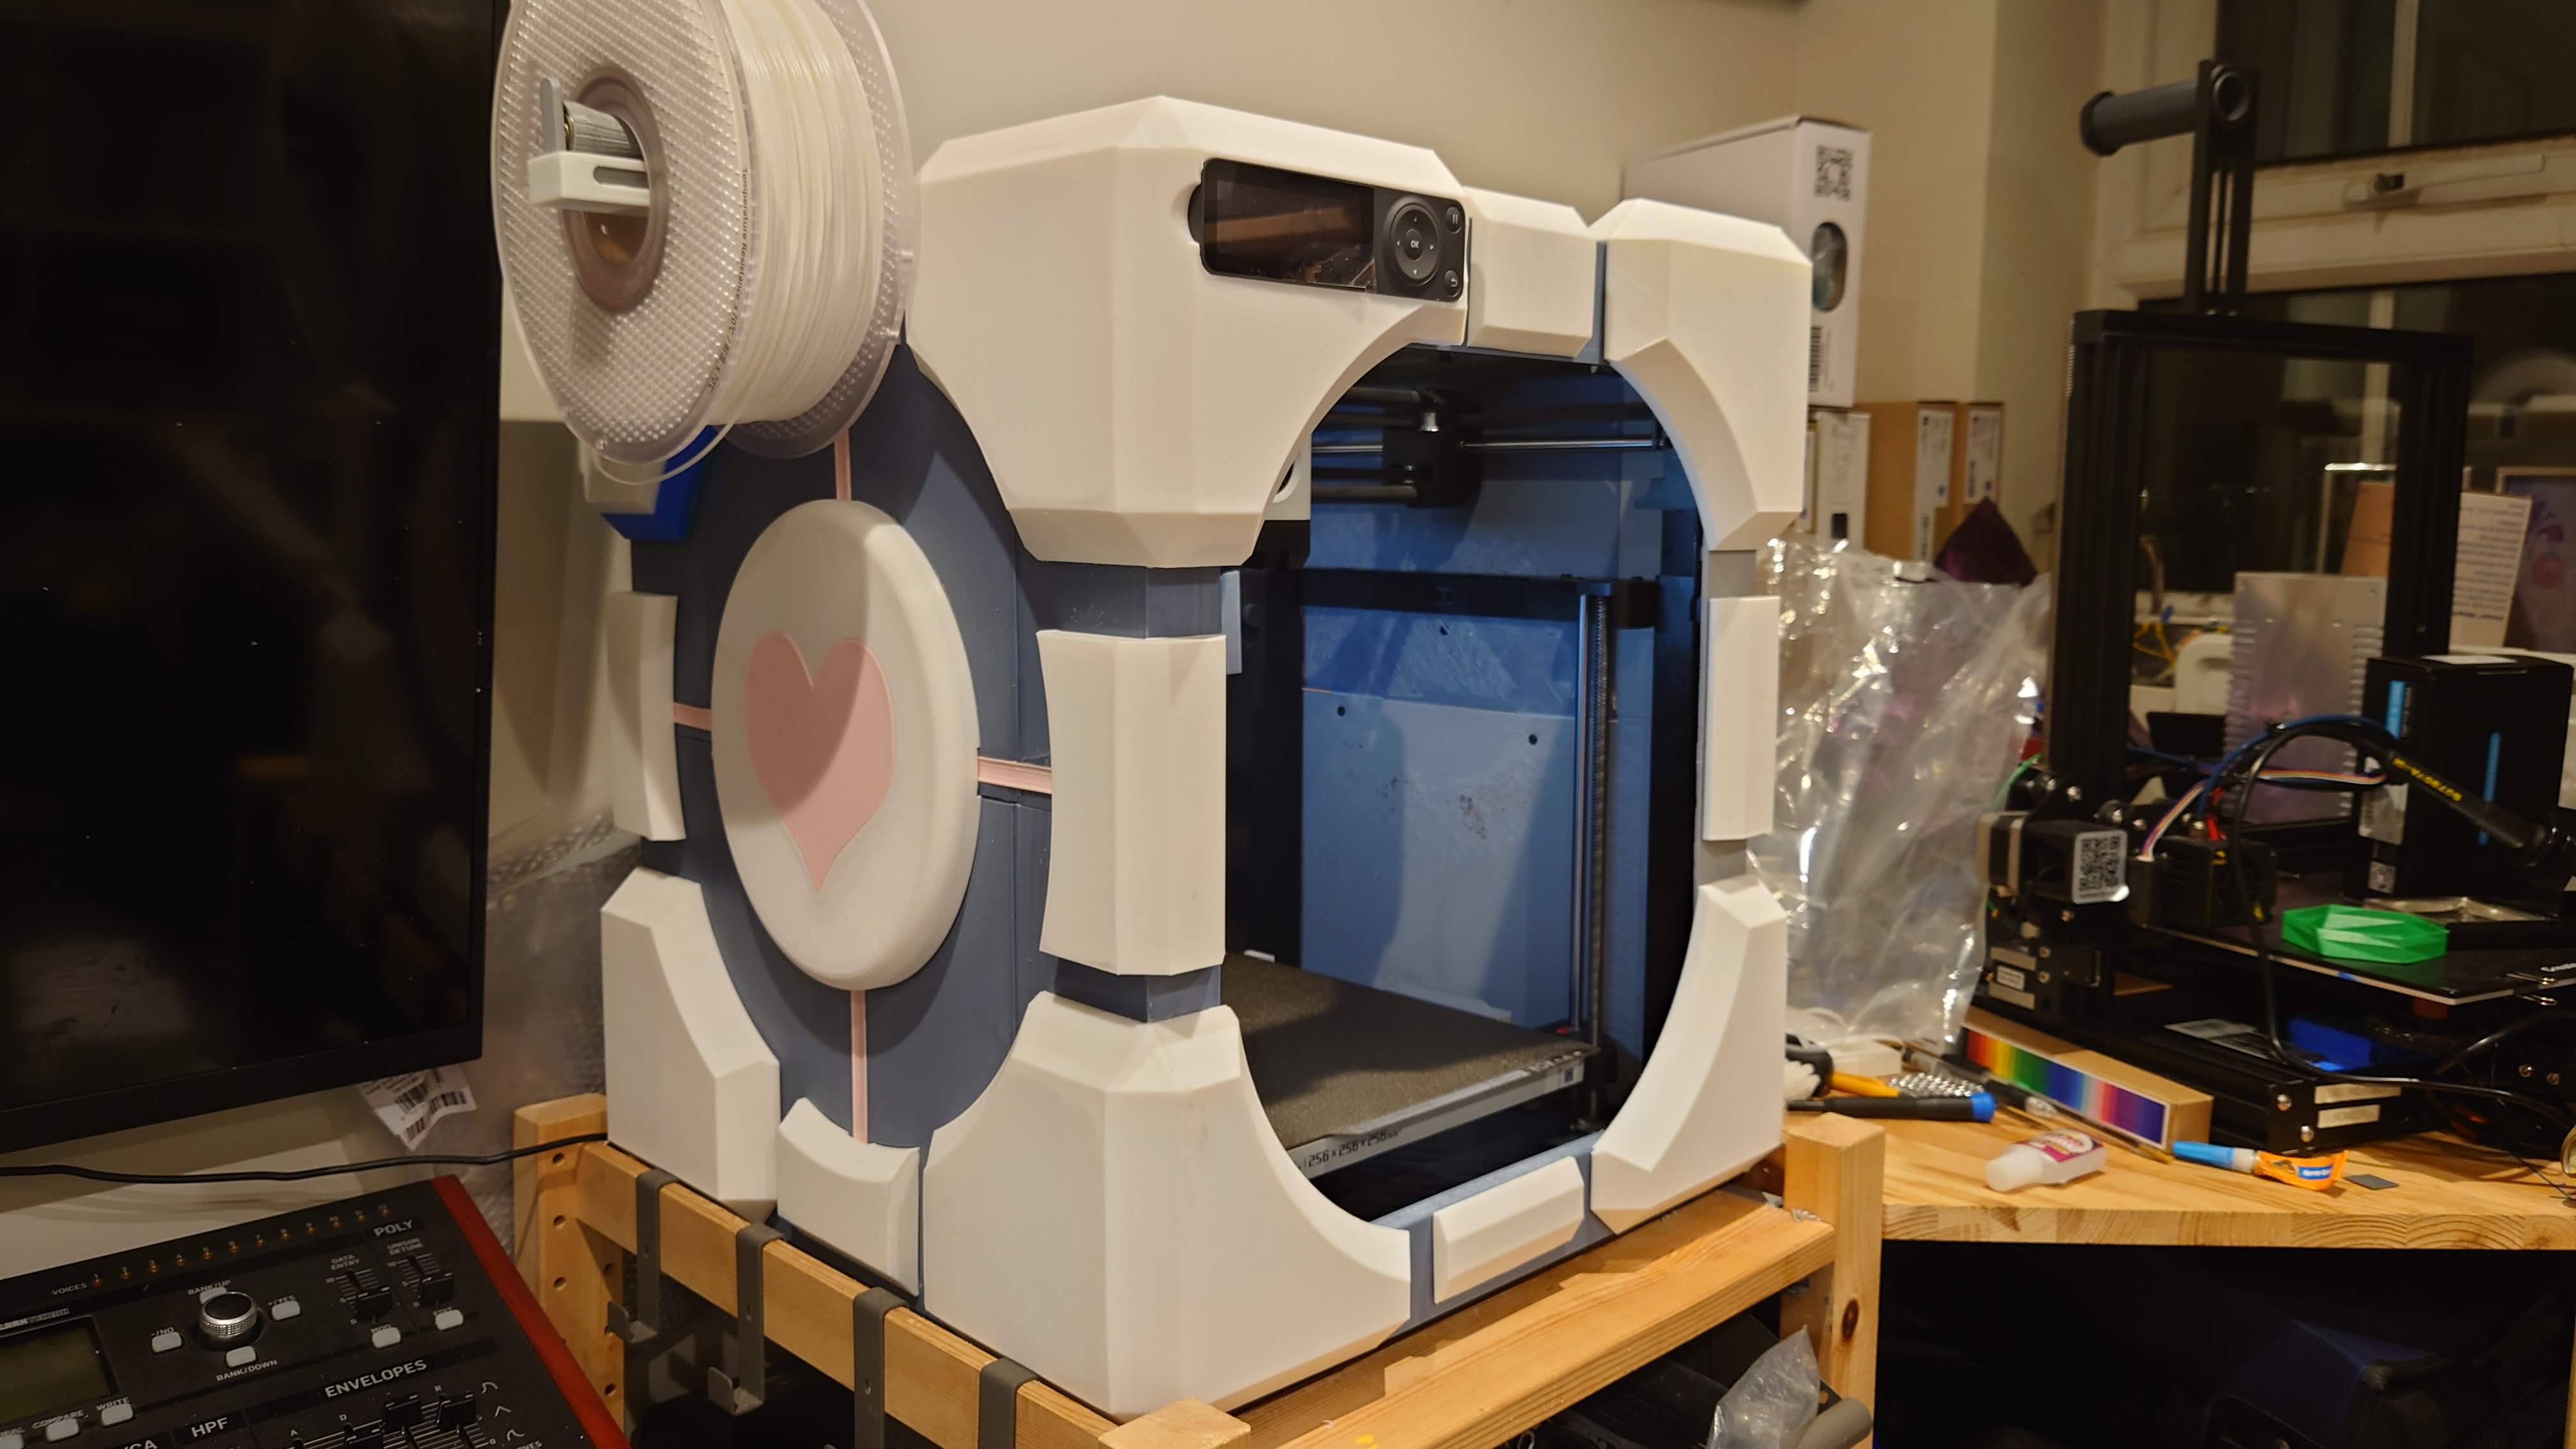
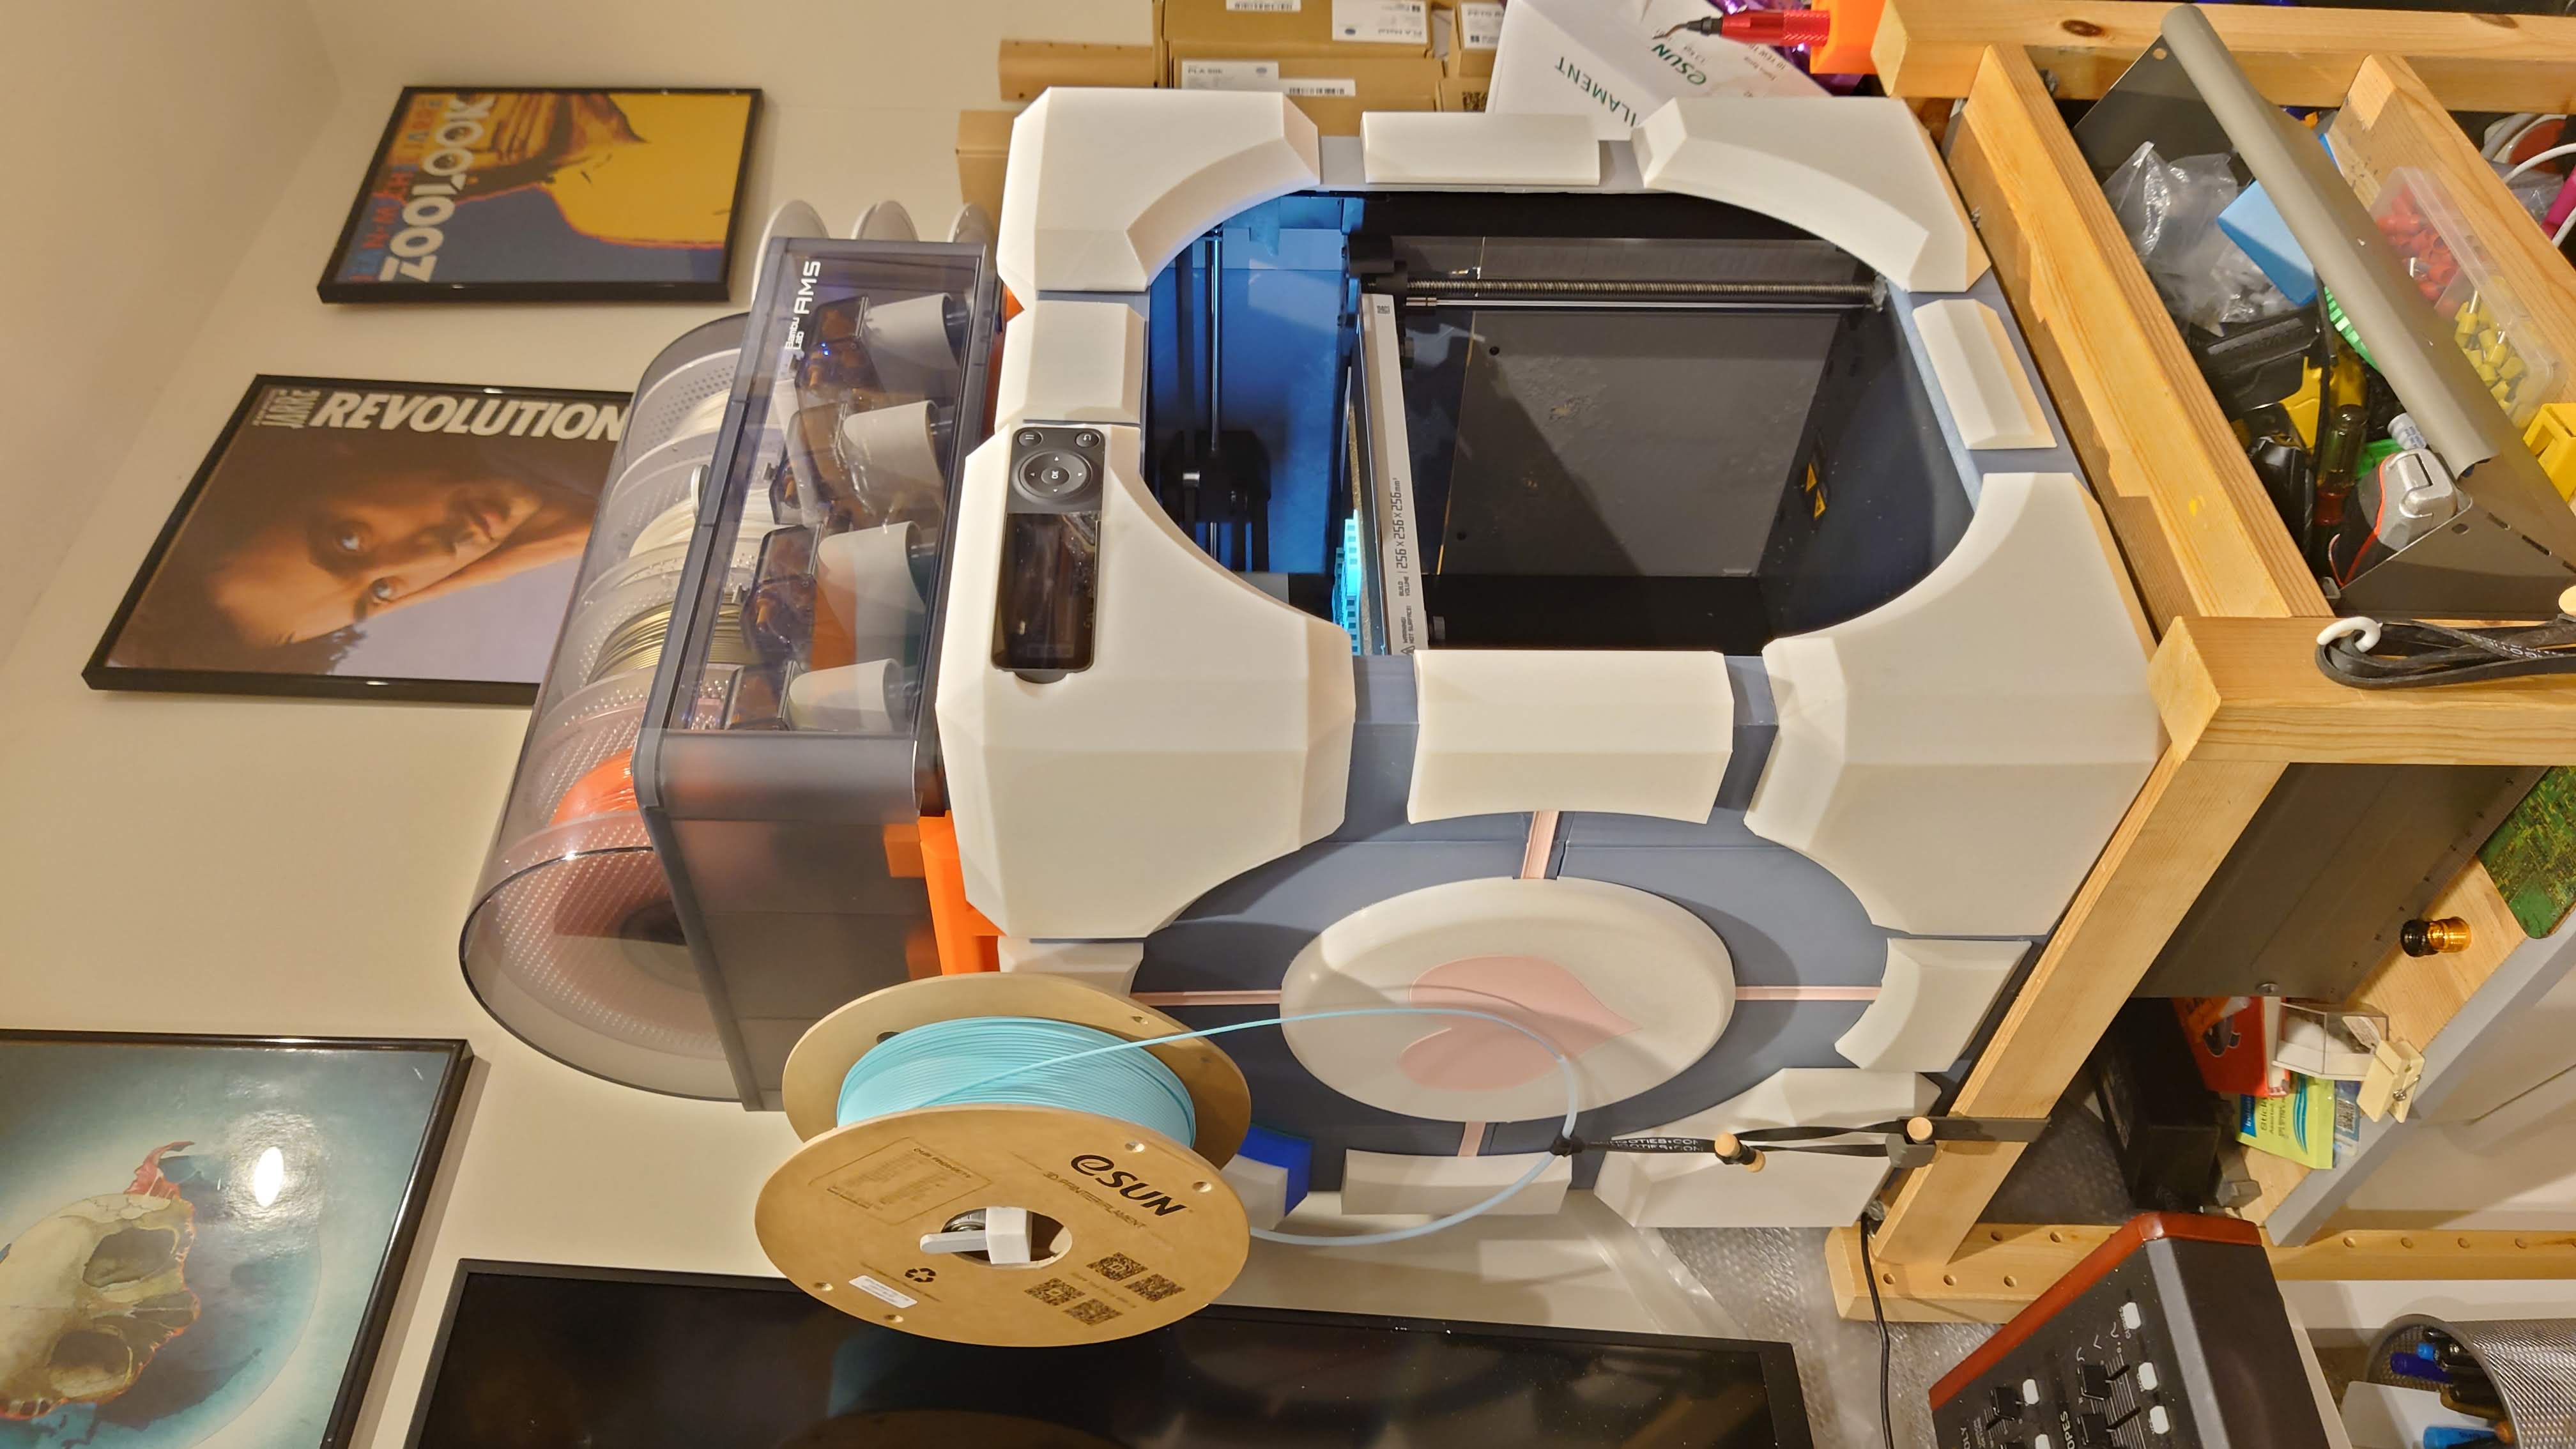
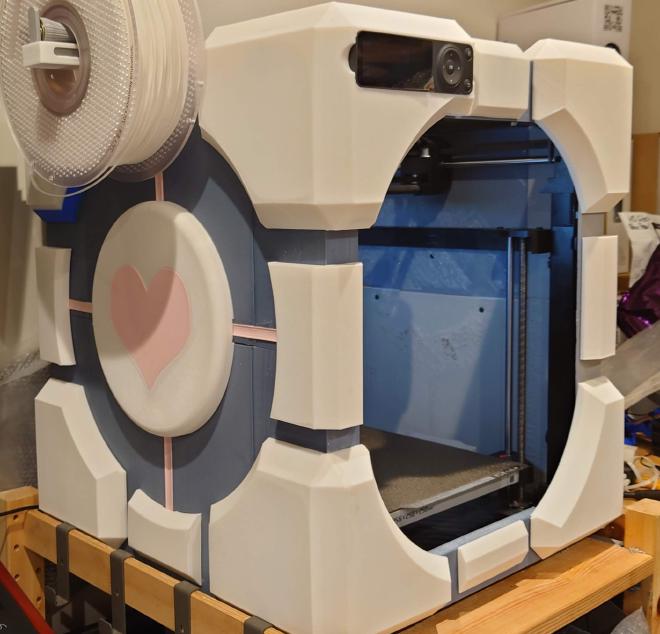
This is my take on neil3dprints’ companion cube mod for the bambulab P1P.
It’s really cool, and I’m proud of the result, and I’ll cover a bit more of the process after a quick trip back in time.
A little history #
Back in 2018 I had a go at assembling the kit of a QUBD two-up
This had been a kickstarter investment my housemate had made a few years prior and hadn’t got around to to assembling as she didn’t think her soldering skills were up to it. As it turned out, no soldering was required, but the printer itself was pretty janky. Some of that may have been my inexperience, but I didn’t really trust the tolerances of a plywood frame held together with cable ties.
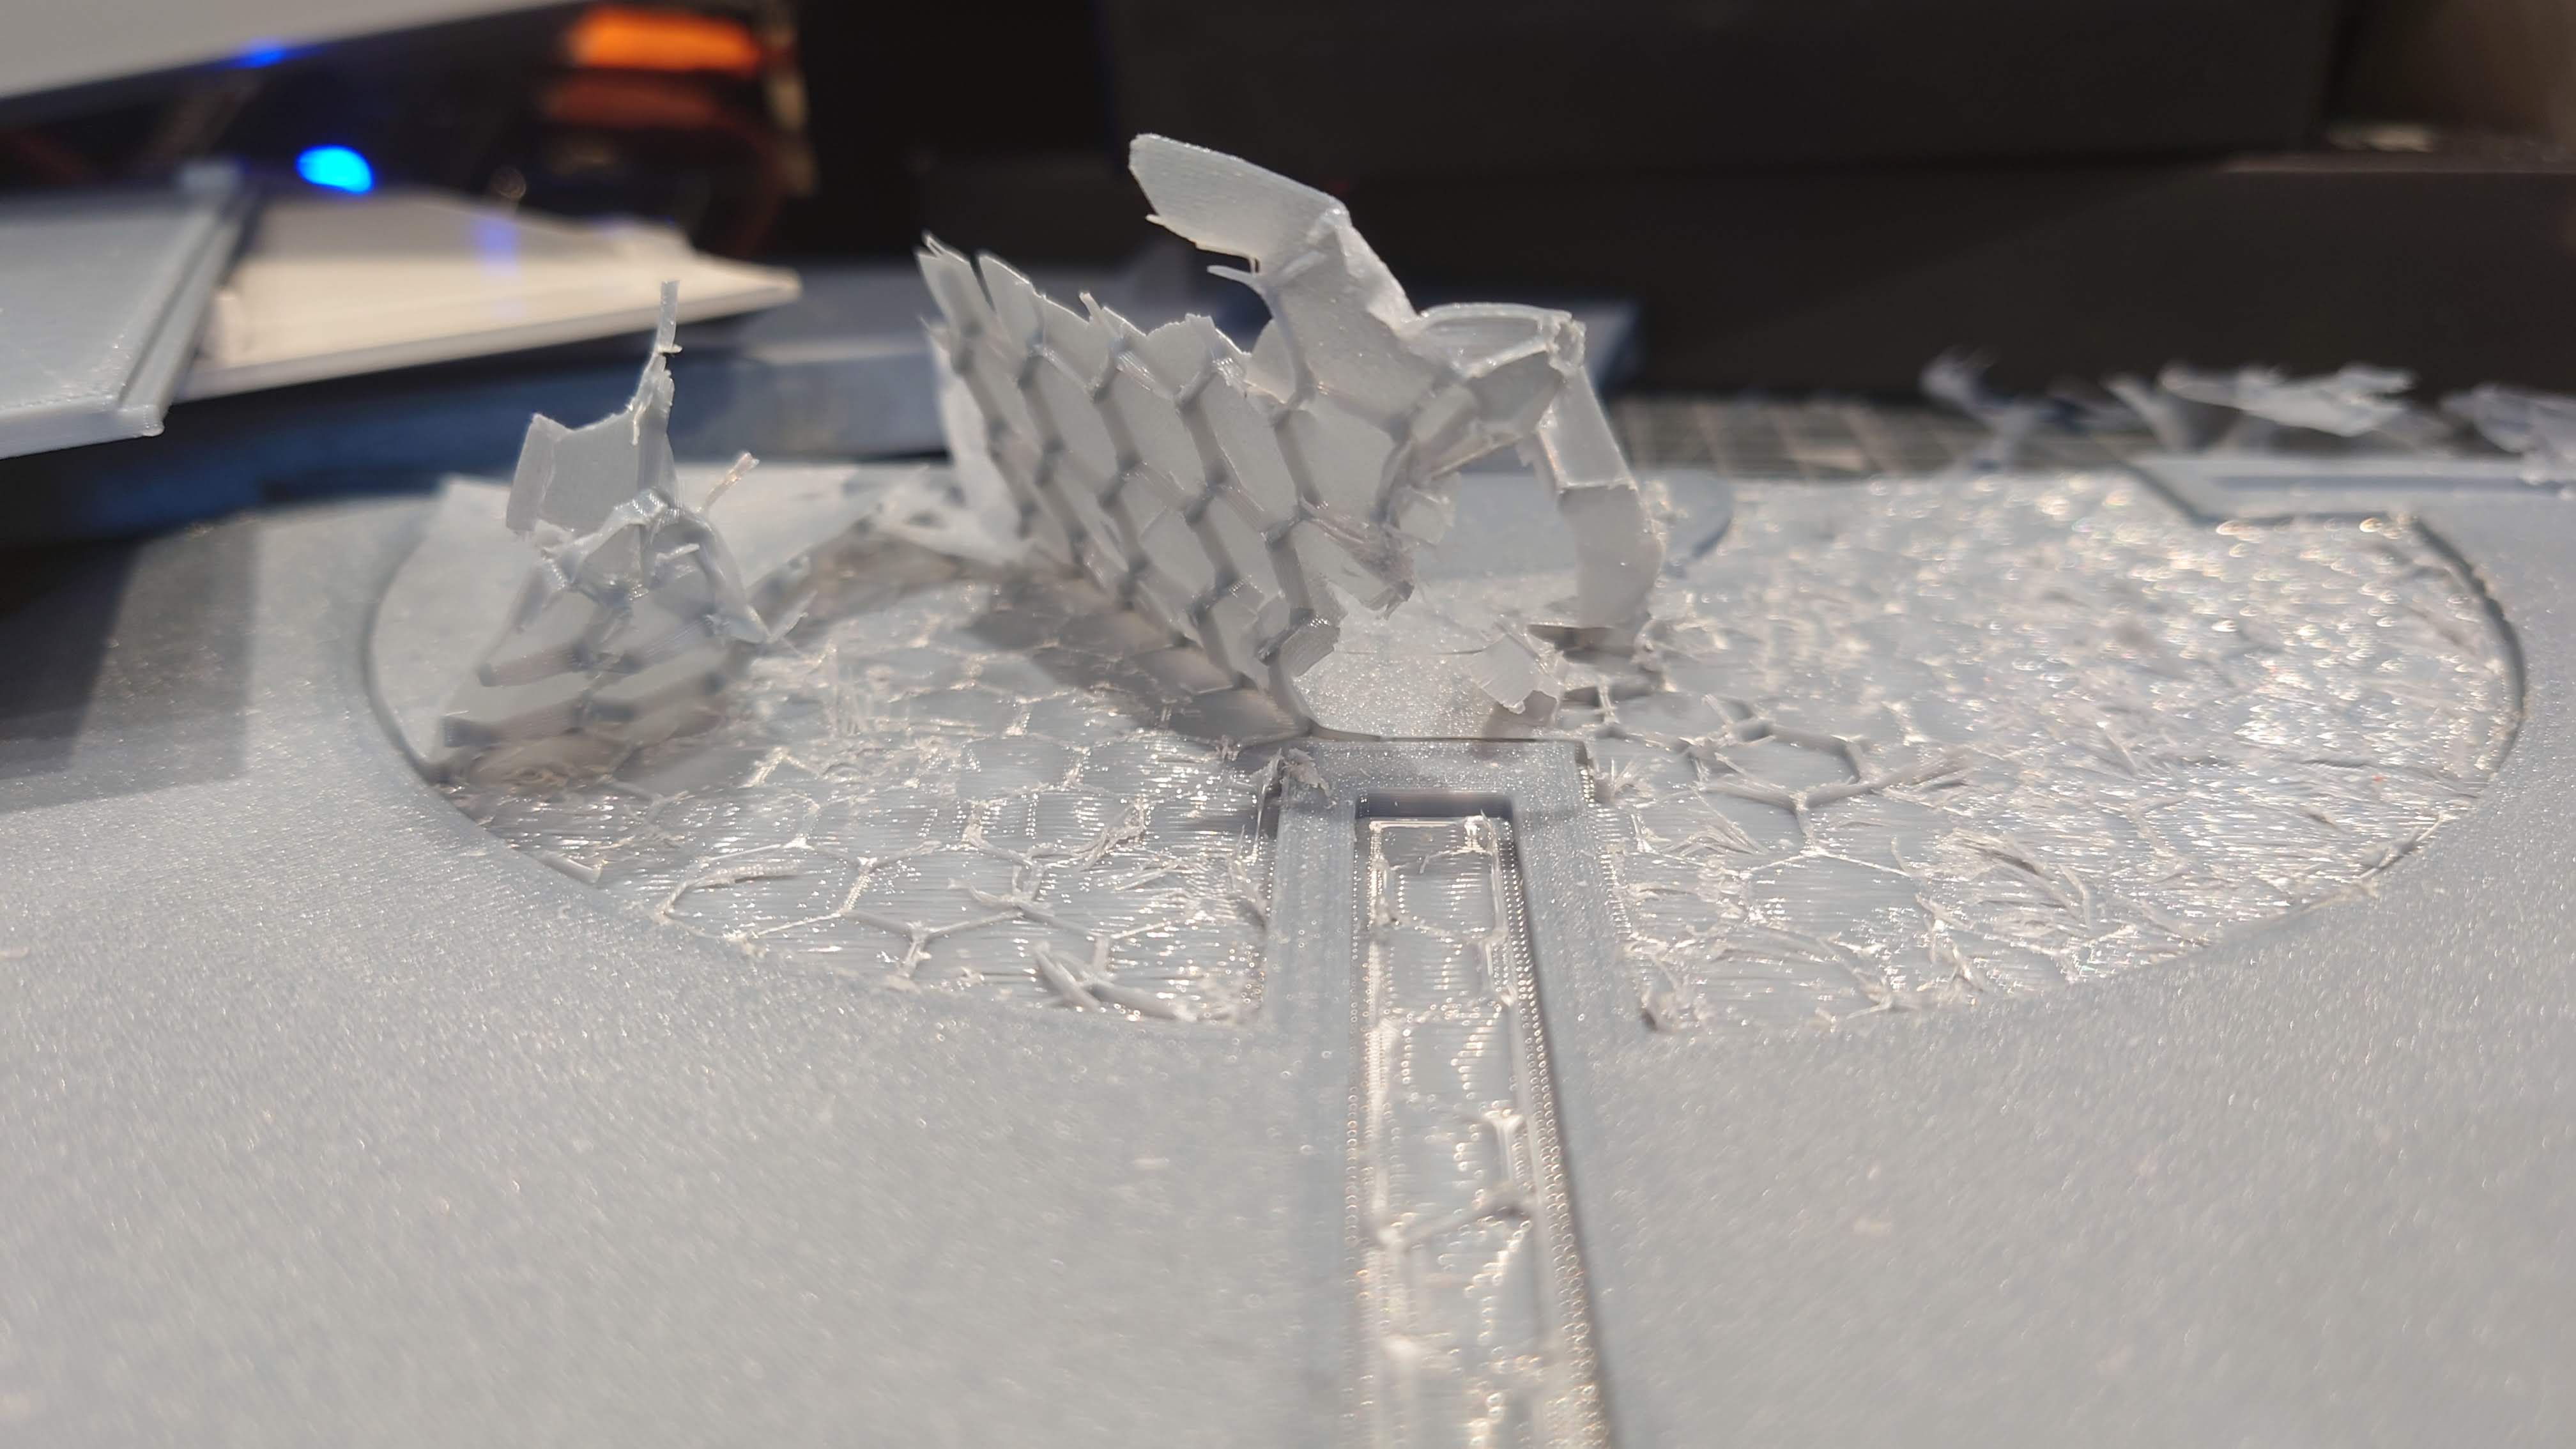
My resulting prints were not all that inspiring:
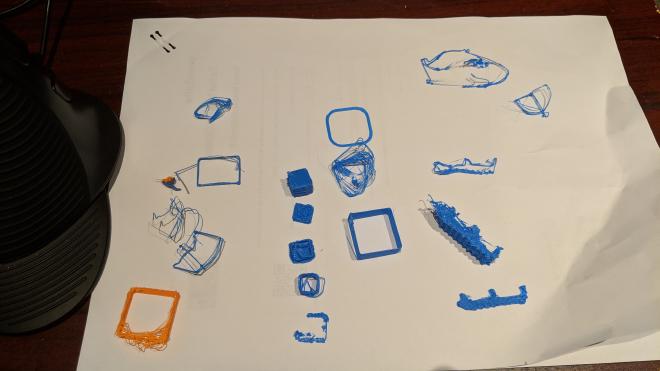
The jagged mess on the right was meant to be a better belt interface for the extruder carriage to improve print quality. As you can see, the “out of the box” print quality was so bad, I wasn’t even able to print parts to improve the printer.
Fired up by the possibilities I was missing out on, though, I figured it would be better to invest a bit more in a more capable printer rather than pulling my hair out with the more hobbyist kit.
So I bought an original Creality Ender 3. Just a few weeks later, I had assembled its rigid extruded aluminium frame and was able to print my first upgrade: a highly recommended cover for the fan inlet, which would otherwise suck in purged filament.
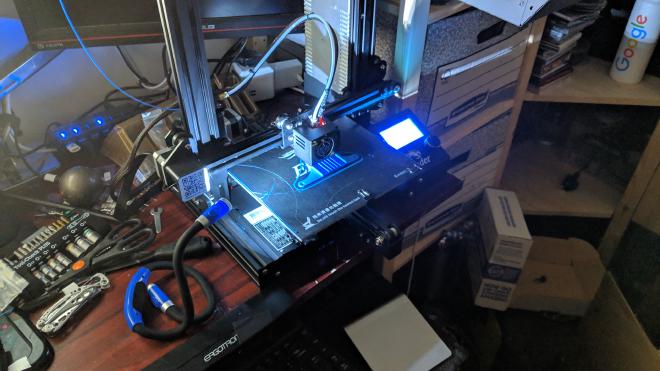
Now this was much more like it. The core printer itself worked just fine. Sure, it was quite tricky to tension the bed springs to get a good first layer, but I was able to crank out some useful functional prints. Note that I am two for two on printing a mod/upgrade as the first “proper” print on each new printer.
As time went on, I invested in more parts for the printer:
- An upgraded extruder made of aluminium (as the plastic one was prone to cracking).
- A glass build plate.
- A metal build plate with PEI coating.
- Many rolls of blue decorator’s tape.
- Upgraded PTFE tubing and hydraulic connectors.
- A RaspberryPi running octoprint.
- A webcam, LED lighting, and smart plug for fully remote operation / monitoring.
- Stiffer bed springs.
After a while, the print failures became more common; it was less and less likely to get a good first layer, Rigid Ink went out of business, and (less rationally) I got very frustrated trying to get TPU working with a bowden tube setup. IYKYK.
So I stopped using the Ender 3 and focused on other hobbies for a bit; a bit became a while; a while became months.
Then years.
Eventually, I noticed the Ender 3 had been taking up valuable horizontal surface area and it should either become useful again or a thing I no longer owned and cared about.
A decision is made #
I quite like making things, and I found myself in need of a custom 3D print and no faith in my current printer. I made a plan to address the problems:
- Bad first layers? Get a probe and use autolevelling.
- Noisy stepper motors? Get a 32-bit mainboard, now they are super cheap.
- Want to print TPU? Get a direct drive extruder and new hotend.
- Tired of having to fiddle with everything? Save up for a Prusa i3 MK3.
While researching on a random 3D printer parts site, I found that a new hotend and direct drive extruder for the Ender 3 would probably cost more than the printer was currently worth.
The lead time for new Prusa’s was still 4-6 weeks, which was a miserable thought, so I checked out the “new printer” deals on the parts site and came across a brand I hadn’t heard of before: Bambulab (remember I’ve been avoiding 3D printing for over a year by this point).
Maybe it wasn’t worth the hassle of upgrading the Ender 3 any more, and I should just invest in a better printer which didn’t need so much hobbyist tinkering.
Um. Yeah. I hear it too.
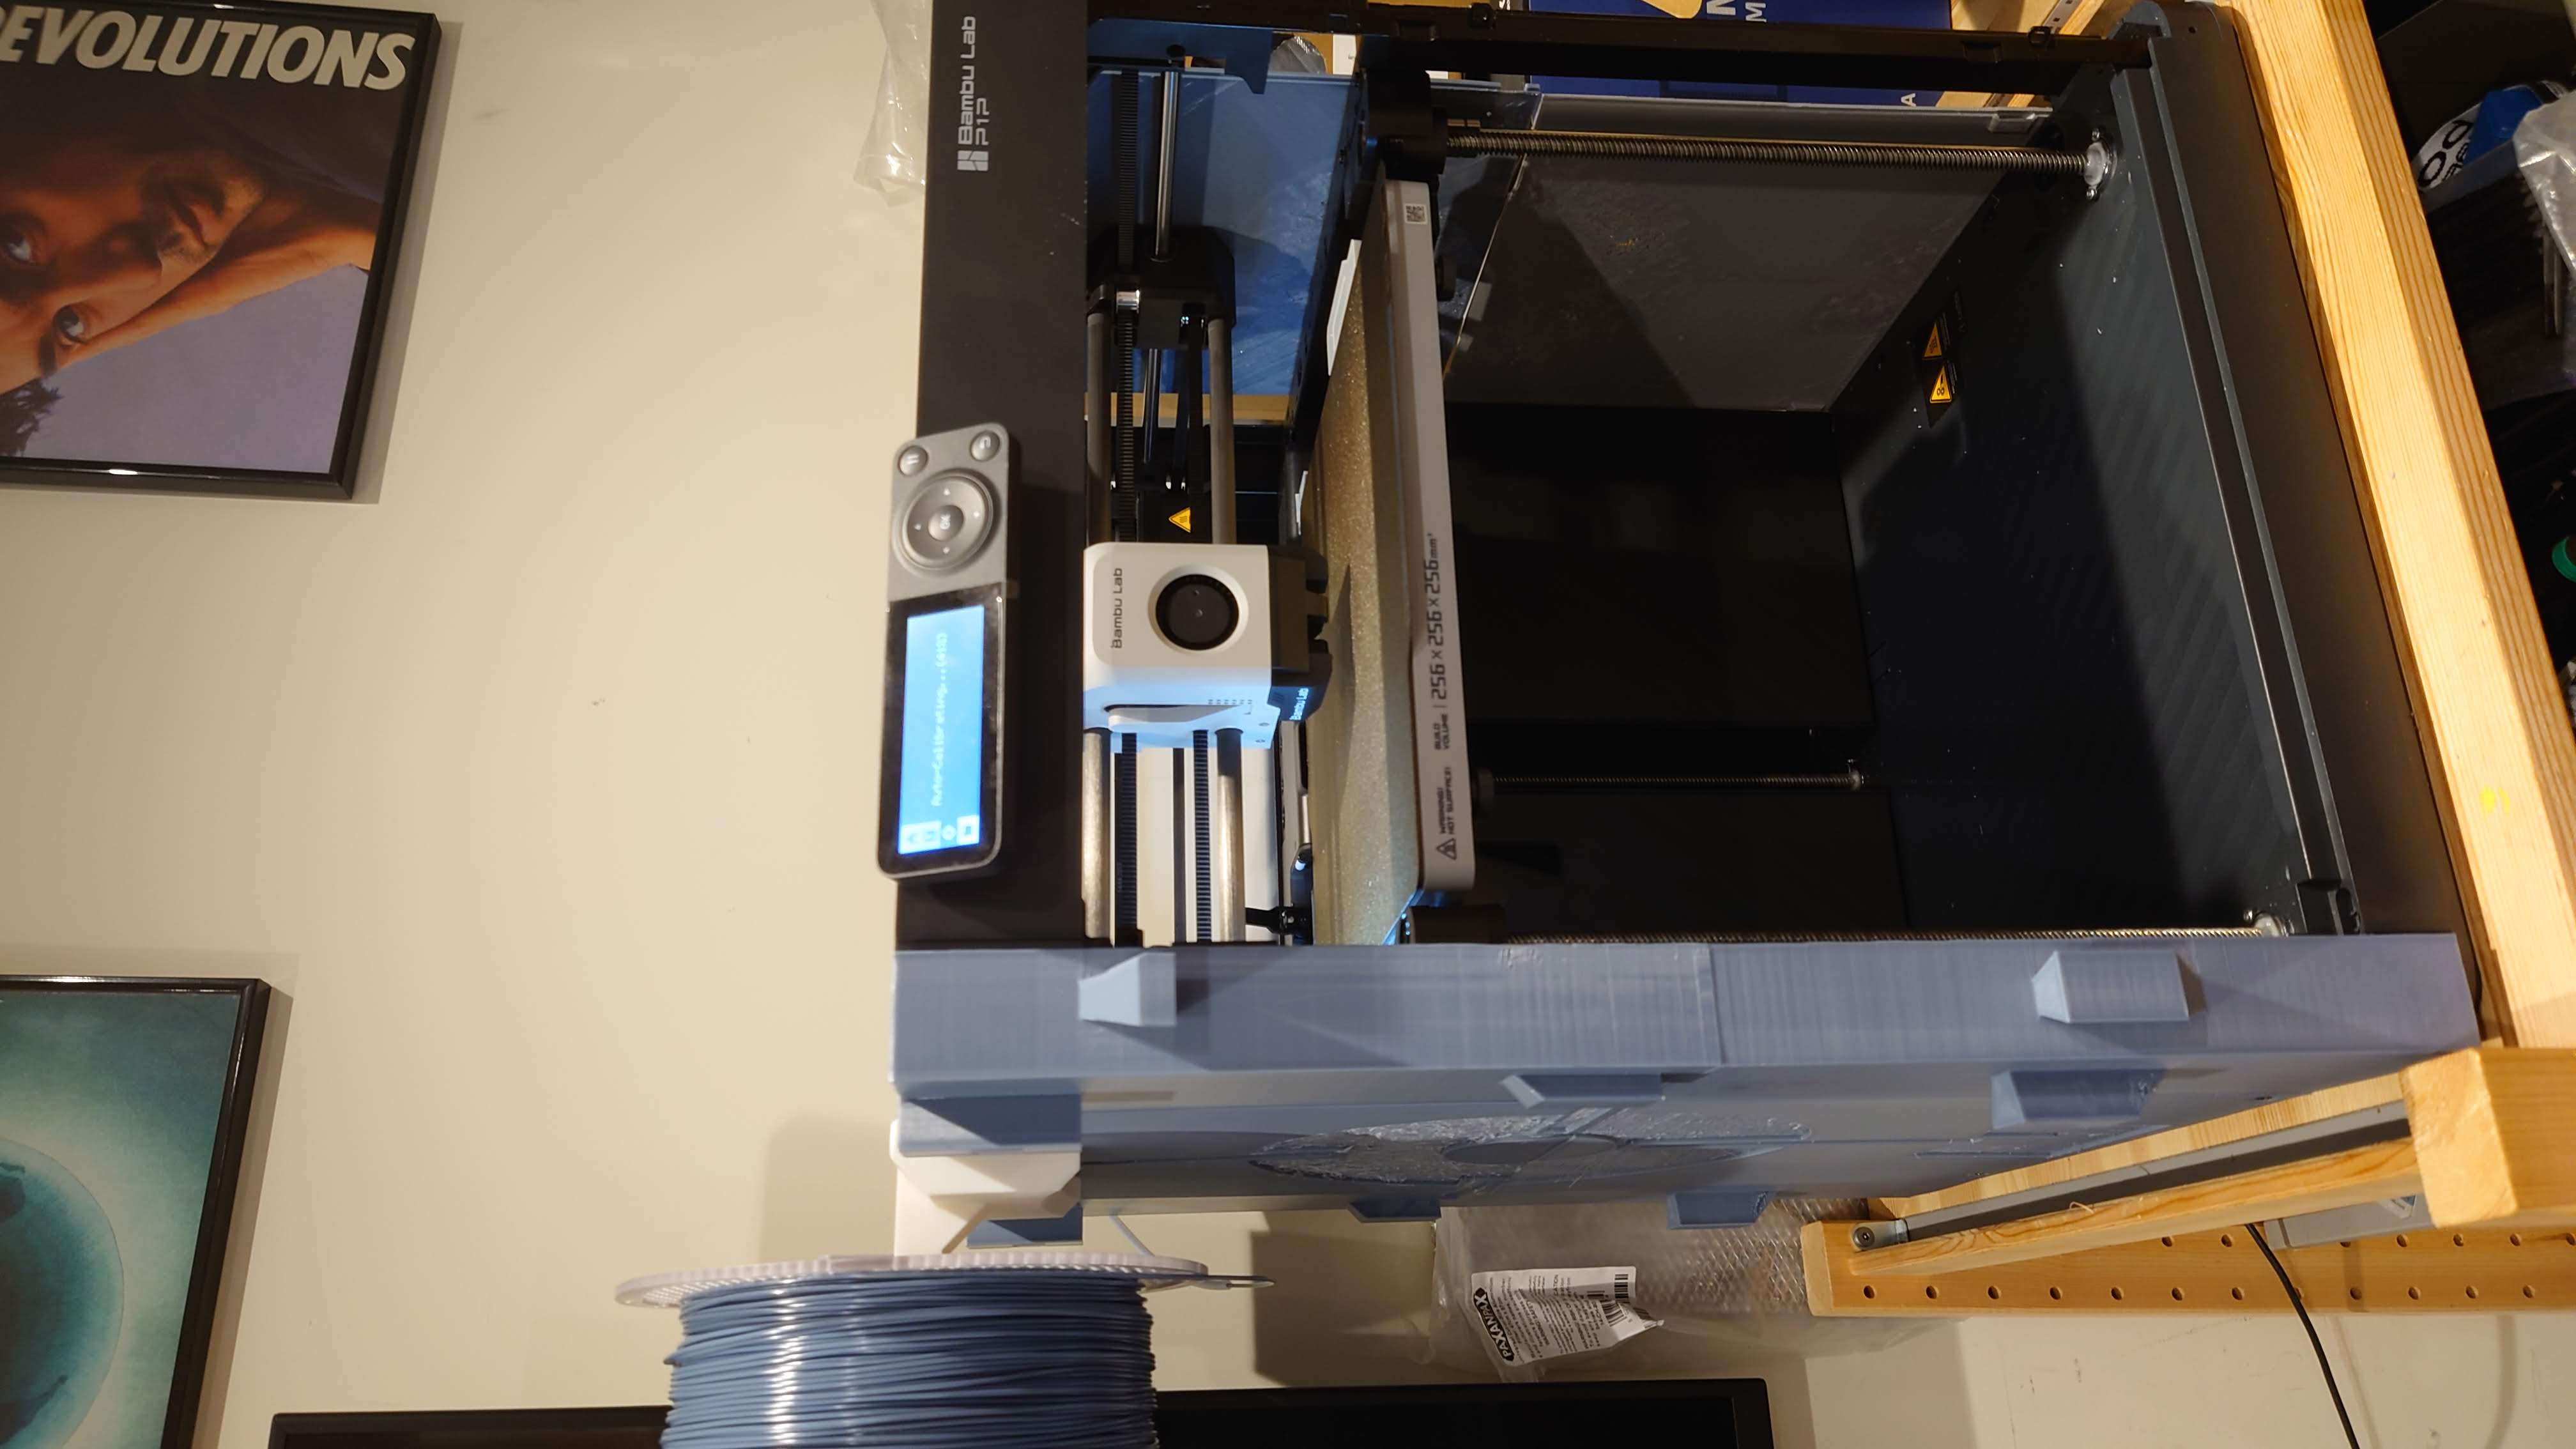
Needless to say, I got the Bambulab P1P for £499 including a couple of reels of filament.
And wow.
This was a triumph #
I’m making a note here: huge success! It’s hard to overstate my satisfaction.
Because this printer rocks. It’s fast, 90+% reliable (in terms of failed prints), and makes it easy to go from model to object.
Yes, I am concerned about Bambulab’s convenient walled garden. And I will probably howl with impotent, self-flagellating rage when their cloud services go down and I lose remote access to “my” printer.
That said, given the number of enthusiastic hackers who have flocked to this range of printers in their droves, I’m pretty sure a fully open solution will be developed if that ever happens. Or at least a functional workaround. Some of that analysis has already been done.
The P1P was a really useful out-of-the-box solution. The only issue we found with it so far is that it’s quite sensitive to draughts, which is a problem as it sits next to an external window. We had a horrible day of awful bed adhesion until we noticed that the outside temperature was very low and that correlated strongly with print failures.
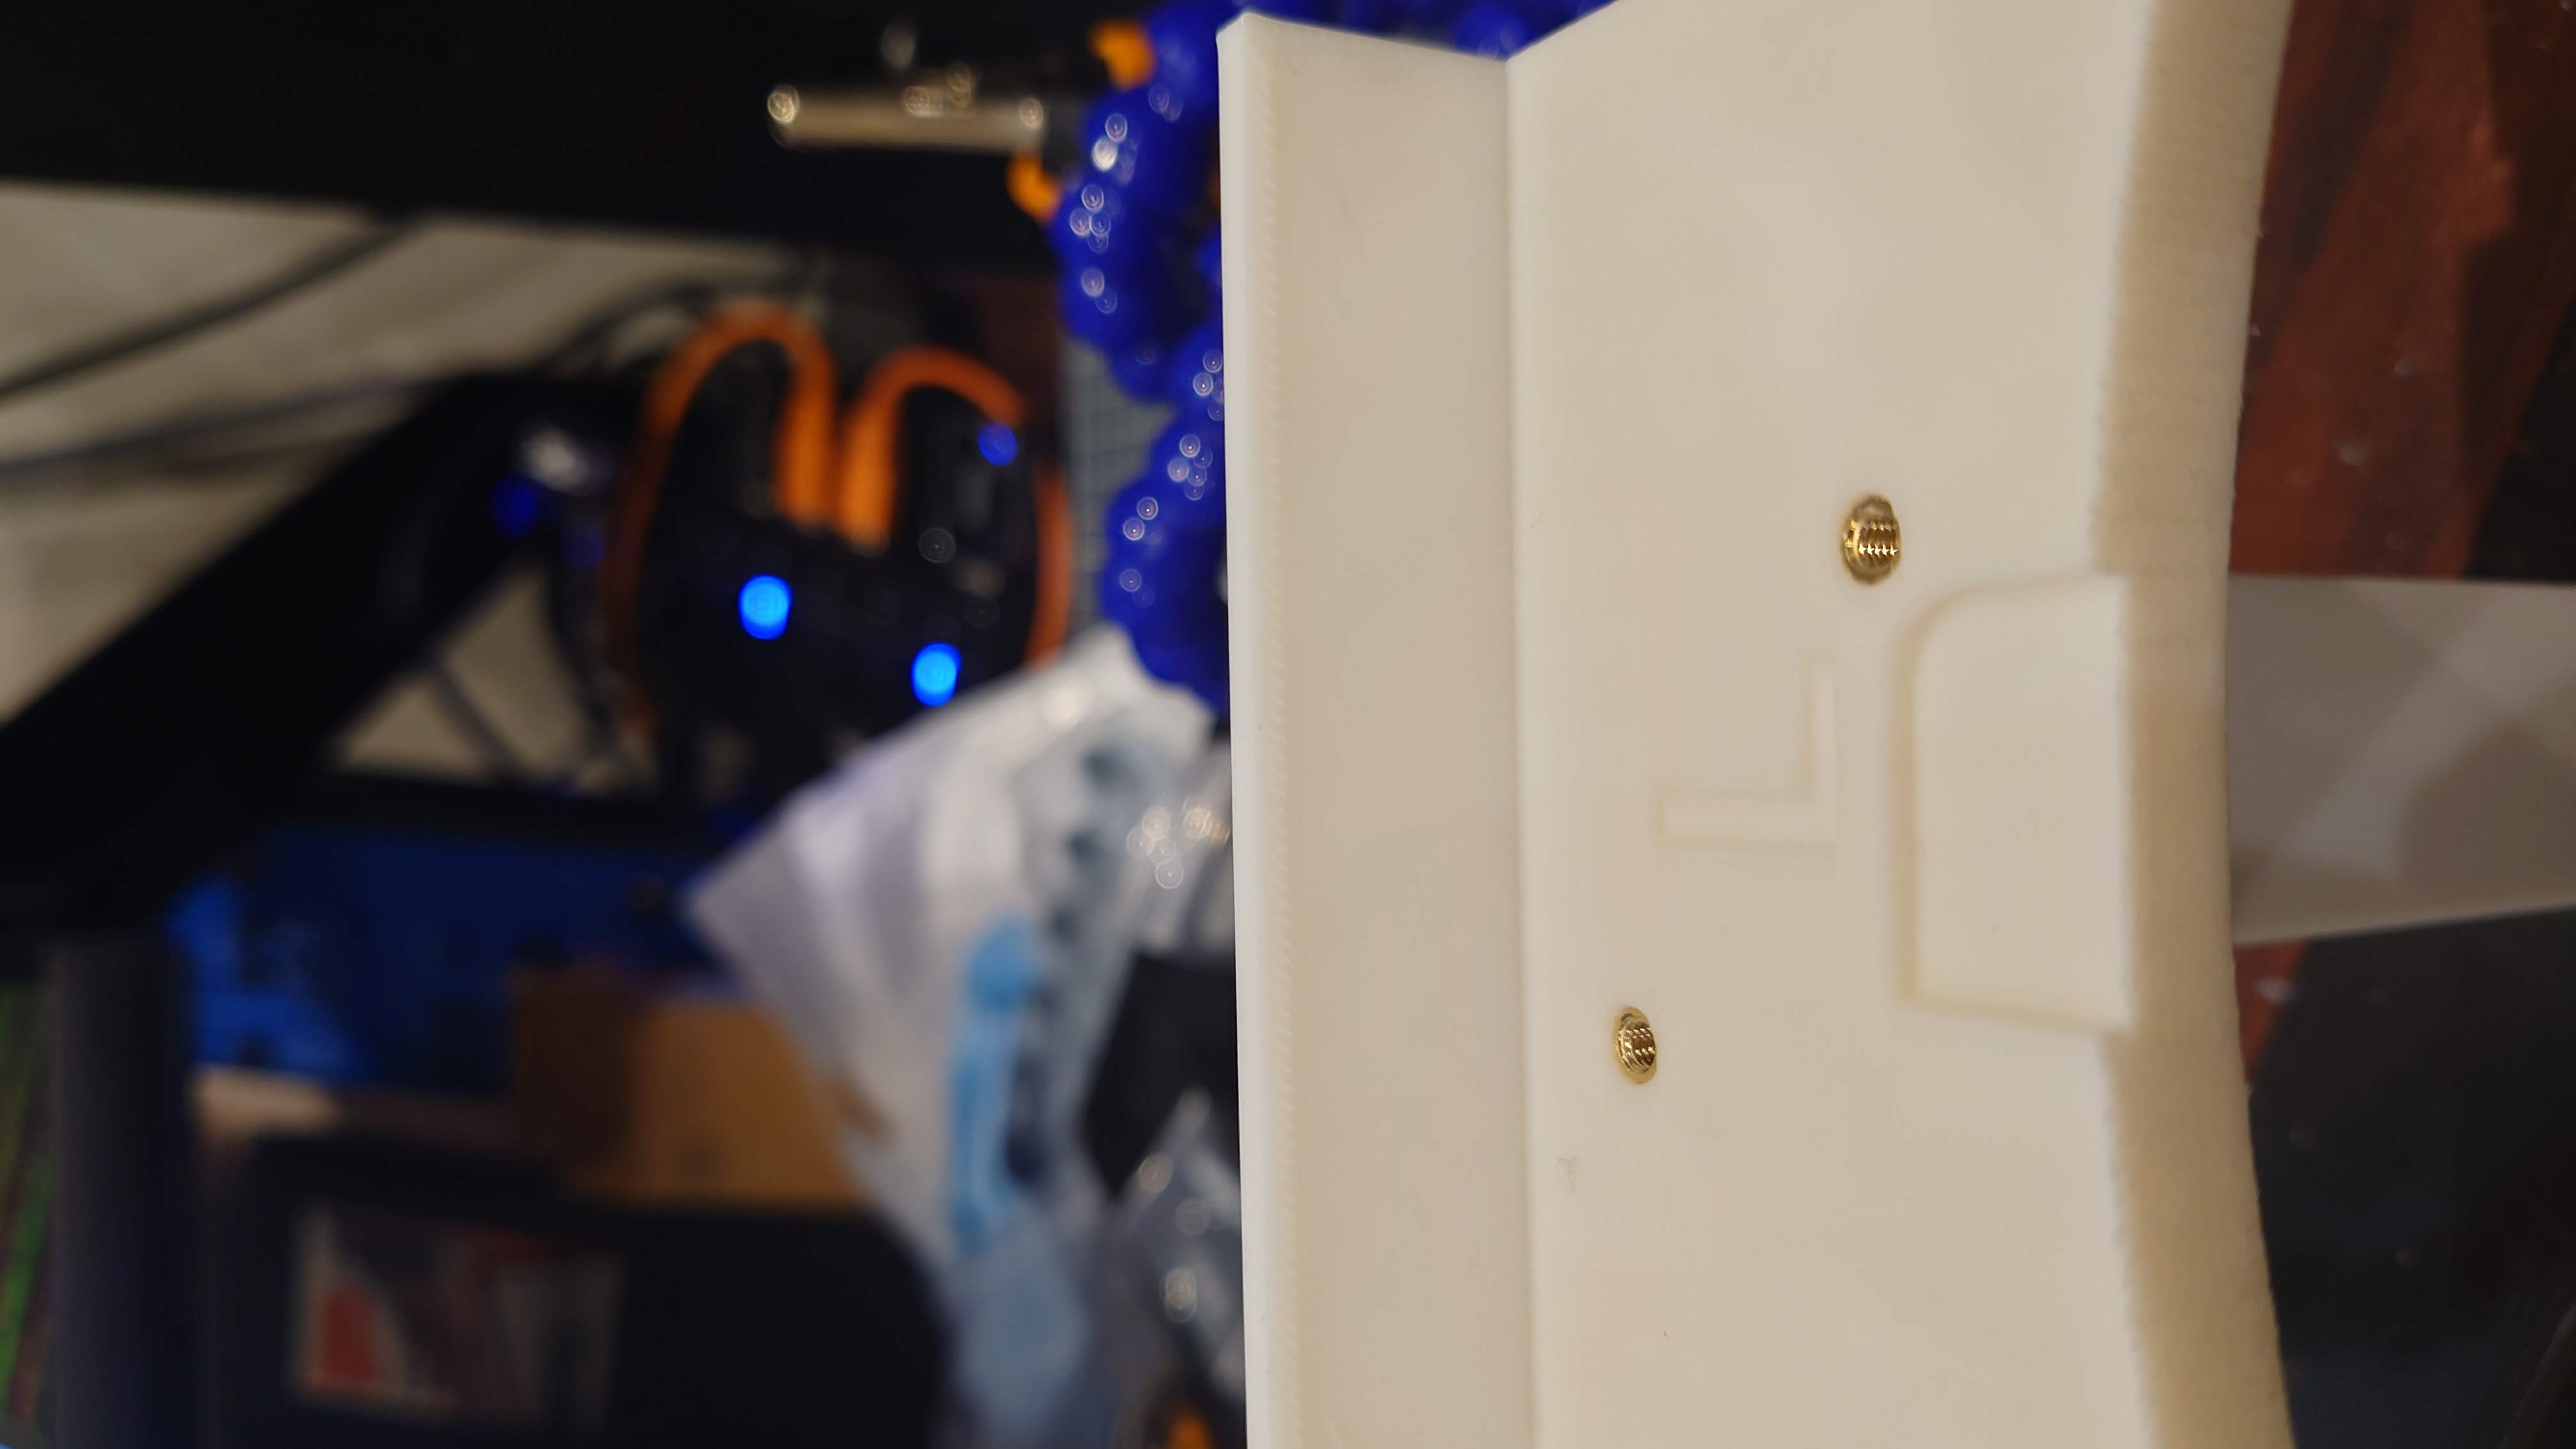
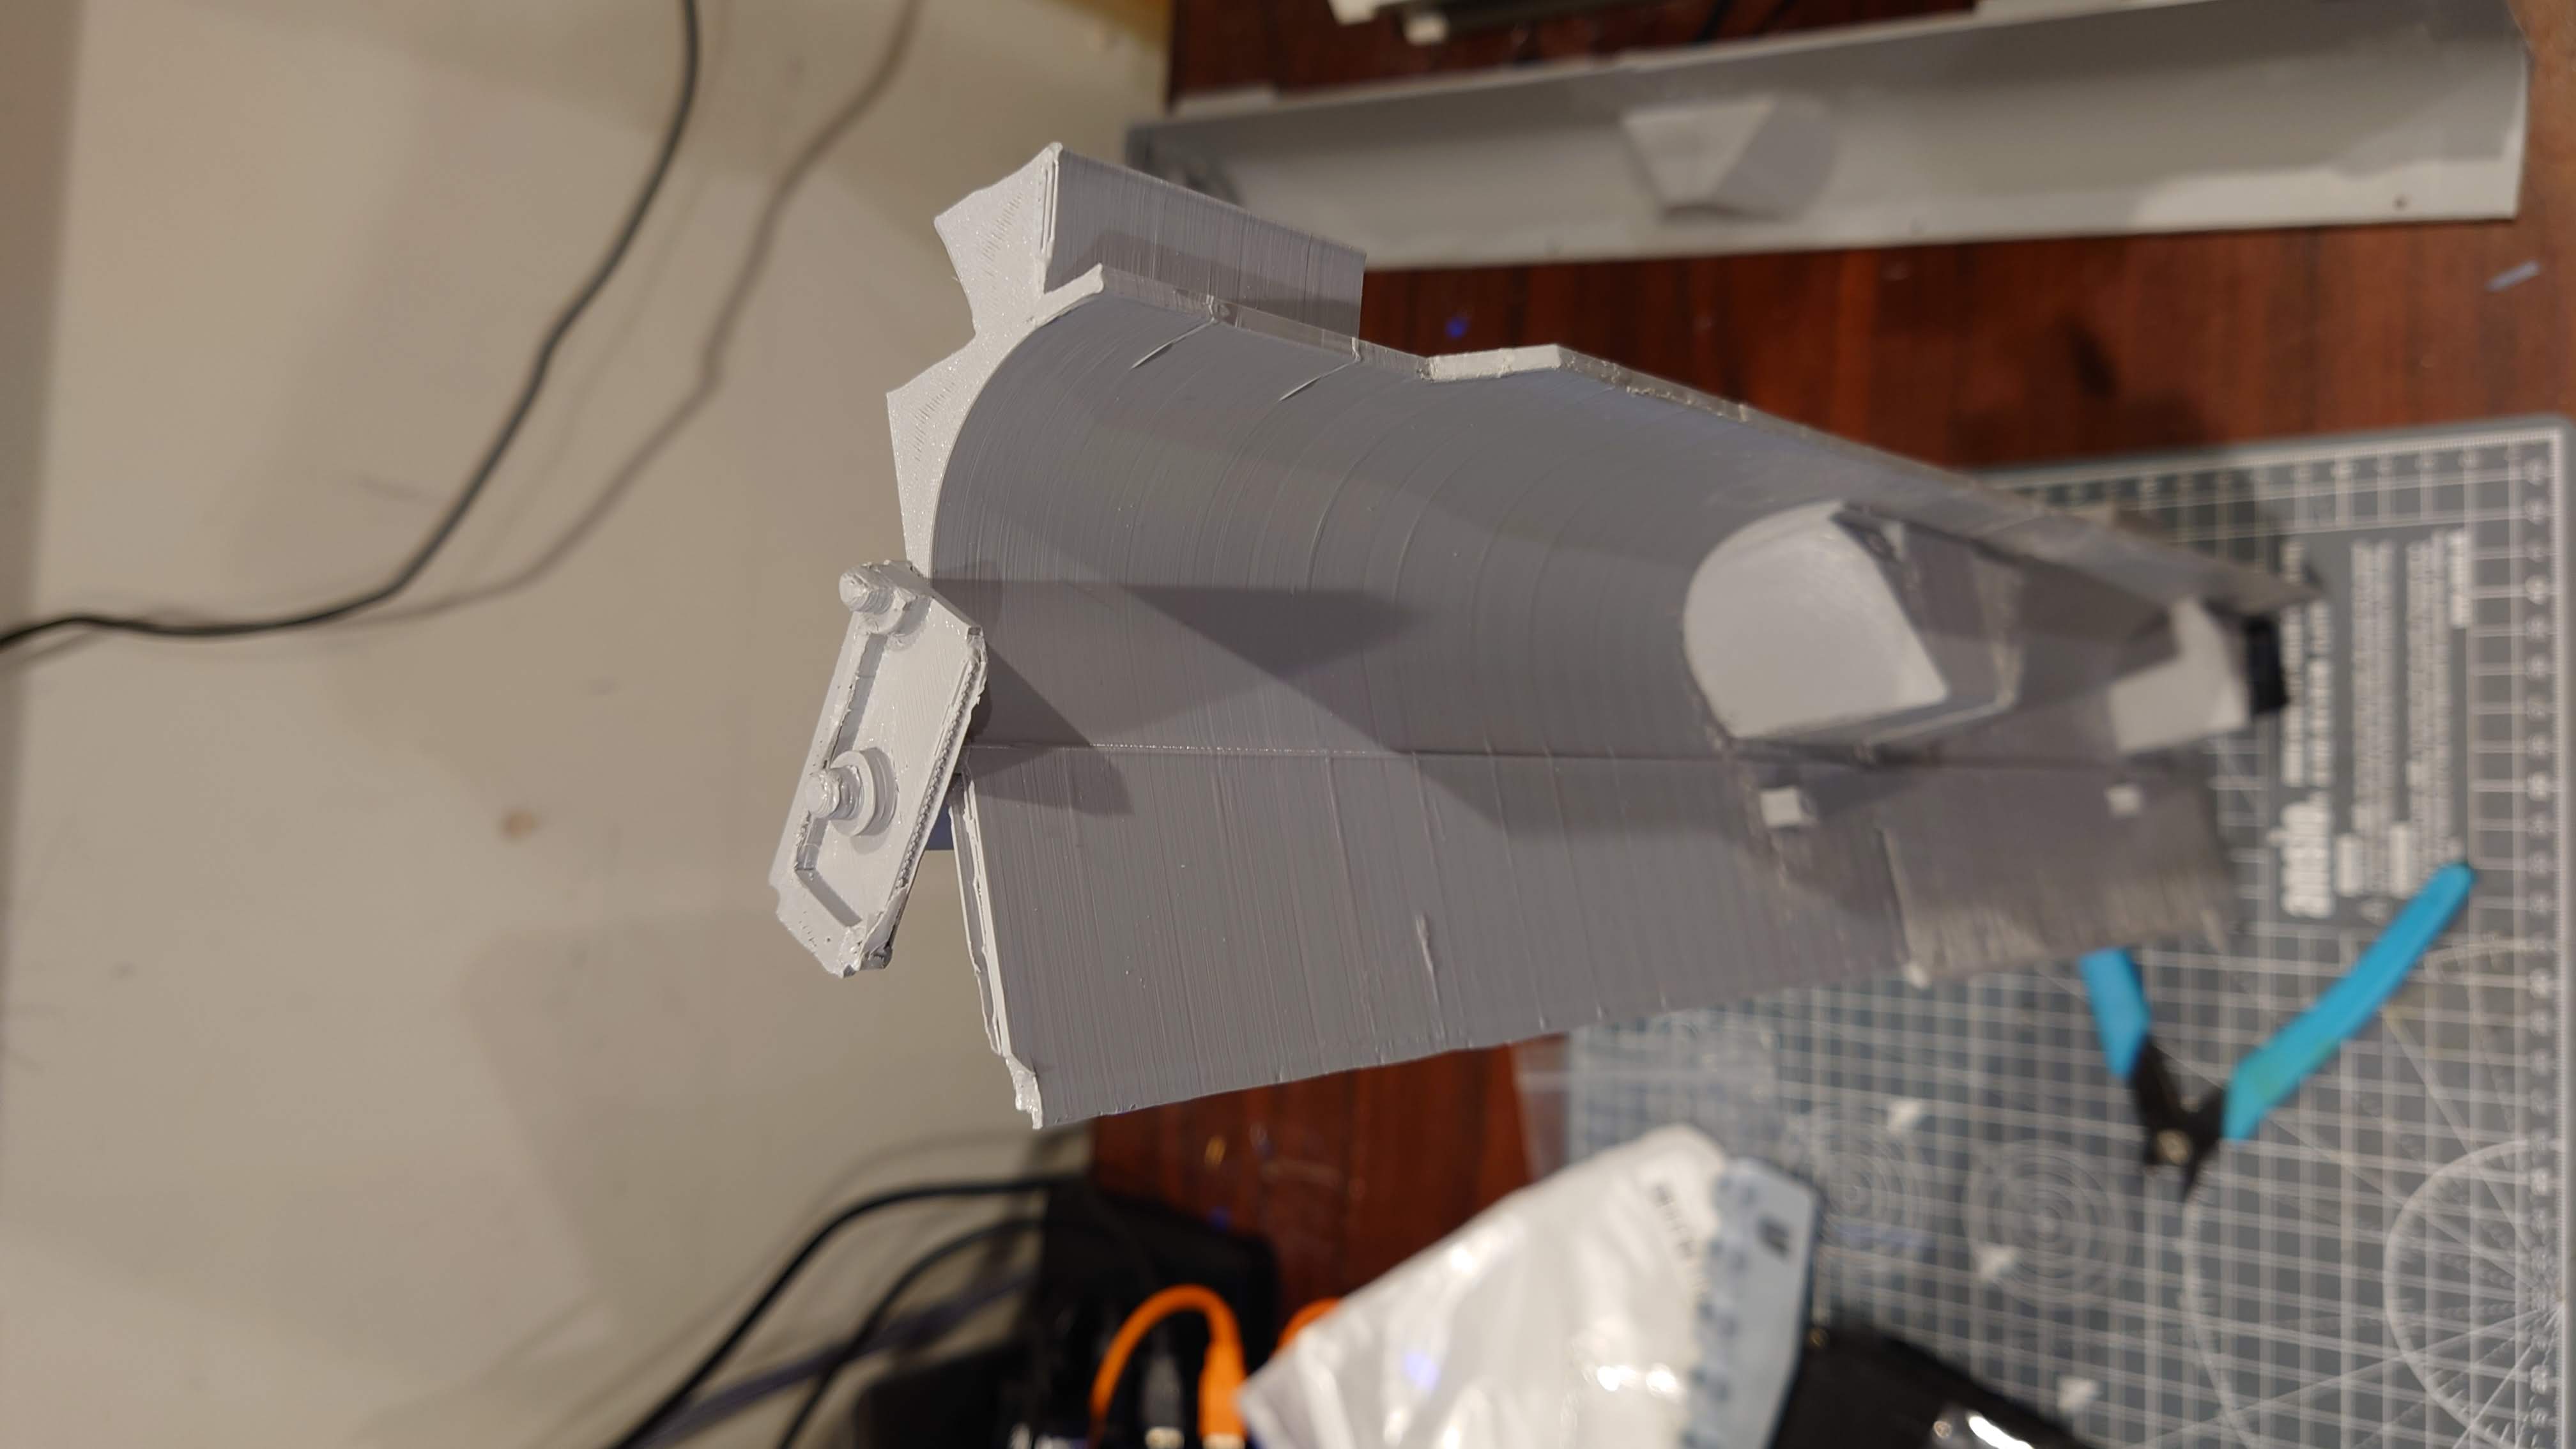
Rather than get the full enclosure (which would upgrade the printer to the P1S spec), I half-arsed it by upgrading the toolhead cable and adding a cable chain, and building the companion cube mod as a mitigation for draughts. And to make it look cool.
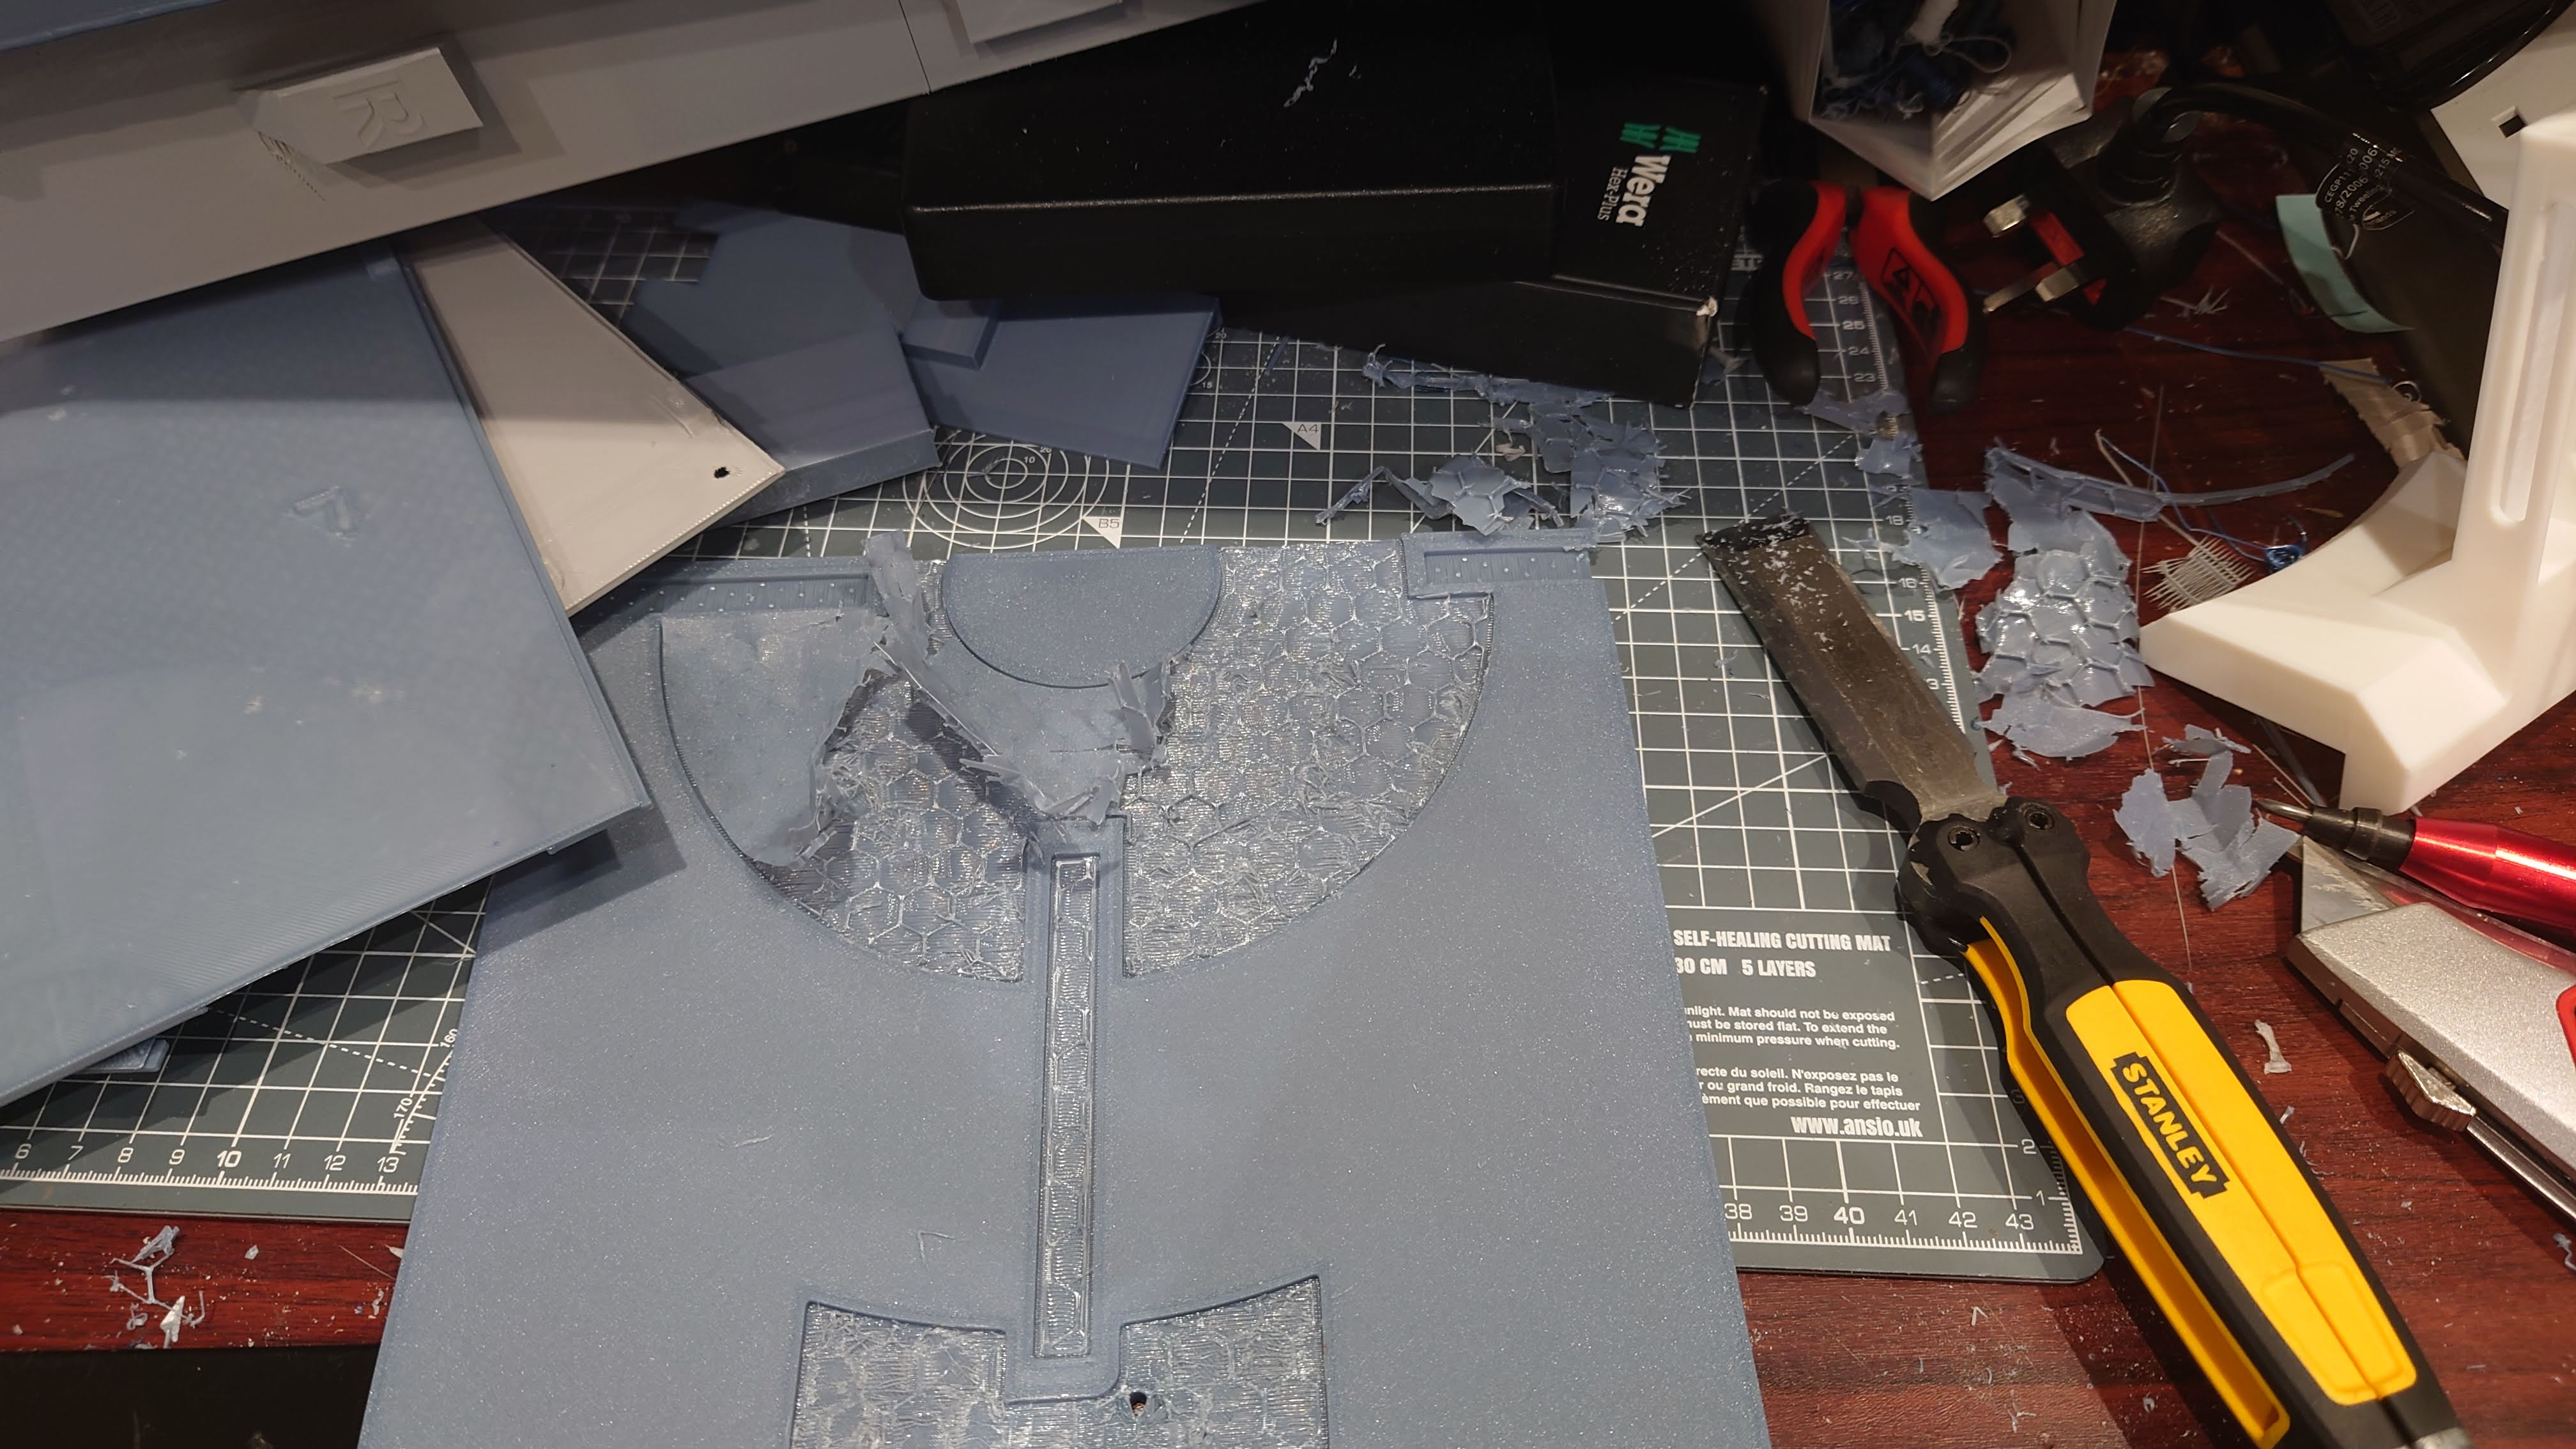
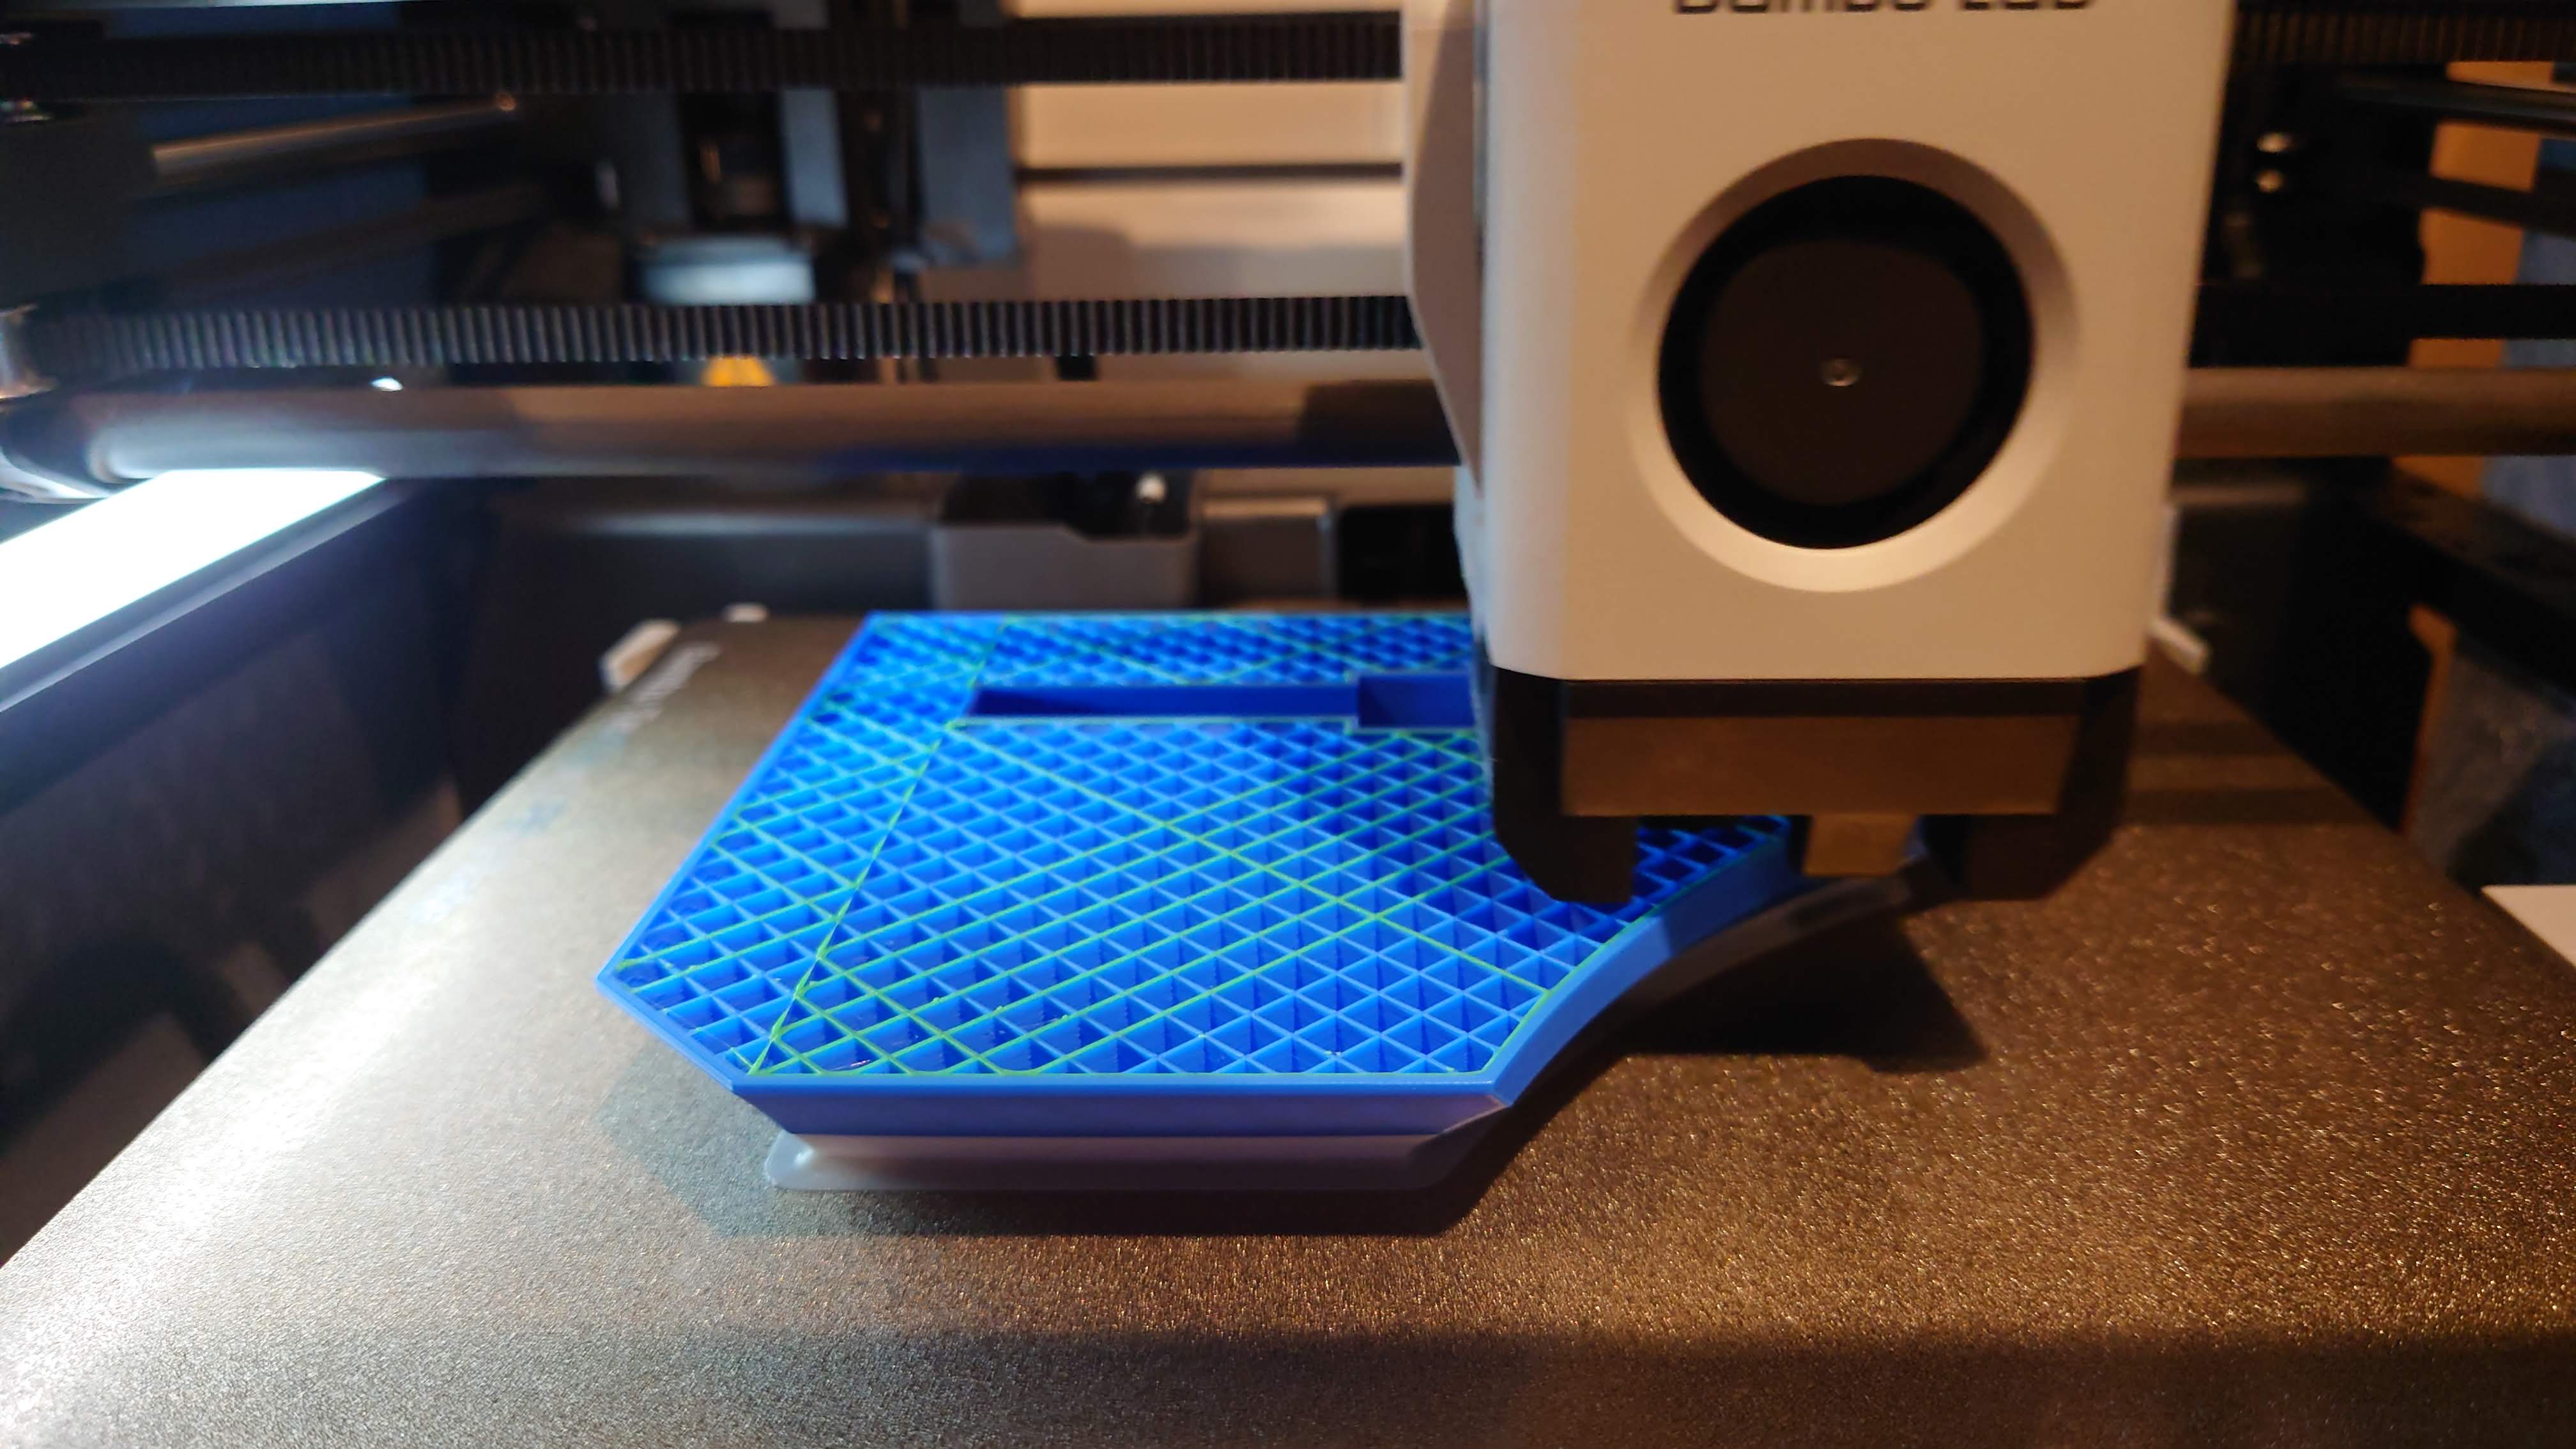
I printed the sides in PETG, and had a lot of trouble with bridging and/or supports. The dimensional accuracy was also off on larger parts, which tended to shrink a little. I had several splits and cracks trying to fit parts to the printer.
I’m sure there’s more I could do in terms of calibration to get better accuracy on larger parts, but that’s not a high priority right now. Mostly, I’m using it to build gridfinity parts and it’s more than good enough for that.
Anyway, a little gallery of the progress of the project: